Congratulations for signing up for the free trial! Before we begin, we’d like to admit, the process of setting up SteadyPoint Office 365 ticketing system isn’t as daunting as you believe. For this purpose, we’ve put together a step-by-step guide on how you get started with SteadyPoint SharePoint Helpdesk.
How to set up SteadyPoint SharePoint Helpdesk?
Our product management team has helped many clients across different industries set up SteadyPoint SharePoint Help Desk. The team is now aware of the challenges the clients have previously faced and decided to share the following steps to make the process as easy as possible.
Step 1: Categorize your Requests - Departments and Request Types
- Create Departments.
Before the actual set up of Helpdesk starts, your team should think of the type of requests they usually receive and how to classify or categorize them.
If you’re in an organization that is made up of different departments, each of which handles their own requests, then it’s better if you create a separate entity (i.e. department) for each one of them.
Having different departments means you can add department-specific agents for every entity. By doing so, you can also set up different forms and workflows that meet the specific needs of each department.
We have two types of departments:
- Private: Users need permission to join. This type is suitable for restricted access, ensuring only authorized members can view and contribute to the department.
- Public: Open to anyone in the organization. These spaces are visible to all members, and new members are automatically added. They’re ideal when you want every member to be able to contribute and add tickets to the department.
- Create Request Types.
Request types are used to categorize tickets under different departments. Consider all types of tickets that might be received under a specific department; for example, in the IT department, you may receive requests related to hardware, software, and other issues. These are considered request types in the system. The request type definition specifies which users can create this type of ticket and what fields are included on the ticket. Additionally, request types define the nature of the customer's issue and the required action to resolve it.
Step 2: Customize your Helpdesk Forms
Create custom fields to store additional information about tickets, and requesters. Original and custom field values can be edited and viewed by the individuals you specify in each stage.
When you’re ready with the customization, click on the “Publish” button.
Use the “Load” action to copy the entire content of the form you selected to reuse. This will save you a lot of time.
Step 3: Plan your Helpdesk Workflow
Having a clear understanding of what you need from your workflow is the first step to setting this up. Think through the different kind of support requests you’ll get: employee on boarding, technical problems, questions, etc... and for each scenario answer the following questions:
- What are the typical steps that requests usually go through?
- Who is assigned to each stage?
- What are the options available to the assignee in each stage? Close the ticket, Mark it ‘as In Progress’, reopen it, just to name a few.
- Which email template would you like to send to assignee in each stage?
Think of answers and based on them make a visual depiction of what happens with requests, include all the steps that must be undertaken by your agents to successfully achieve a task.
Step 4: Test your system
Before going live, you can create test tickets and ask your agents to resolve them to see how it works.
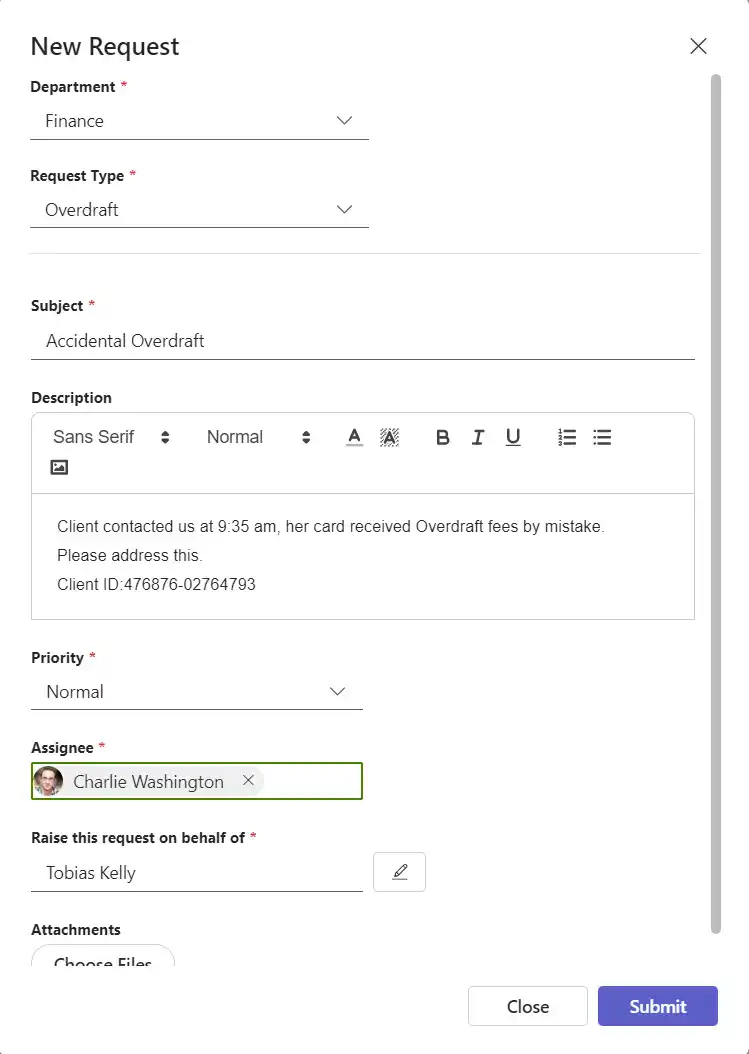
Below is a ticket in the creation phase:
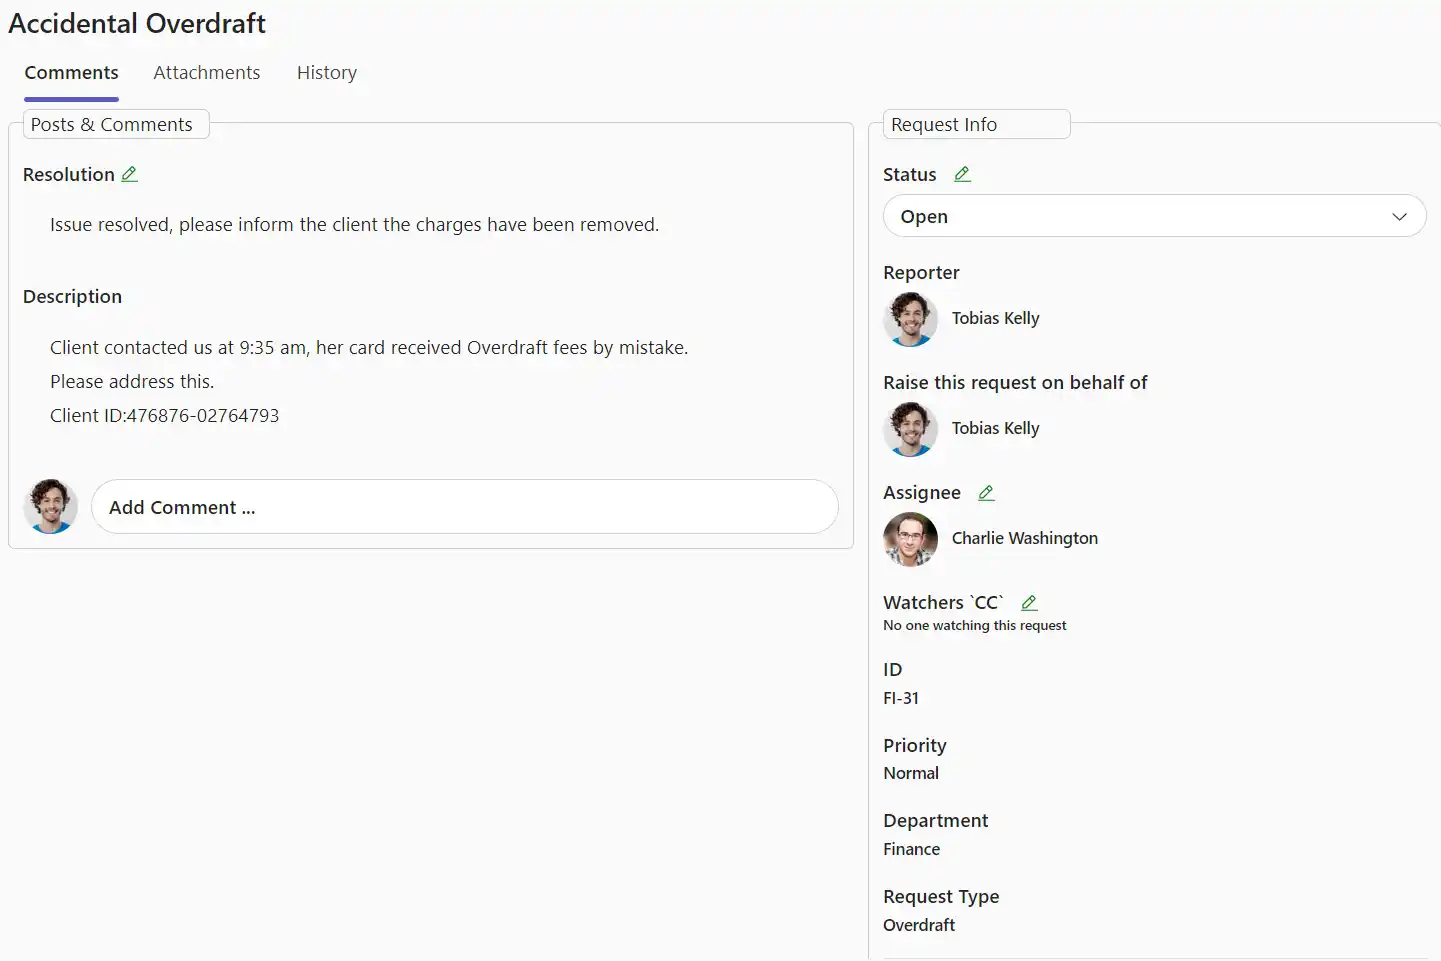
The ticket as viewed in the open stage is shown below:
Voila! you are now ready to offer incredible support.