
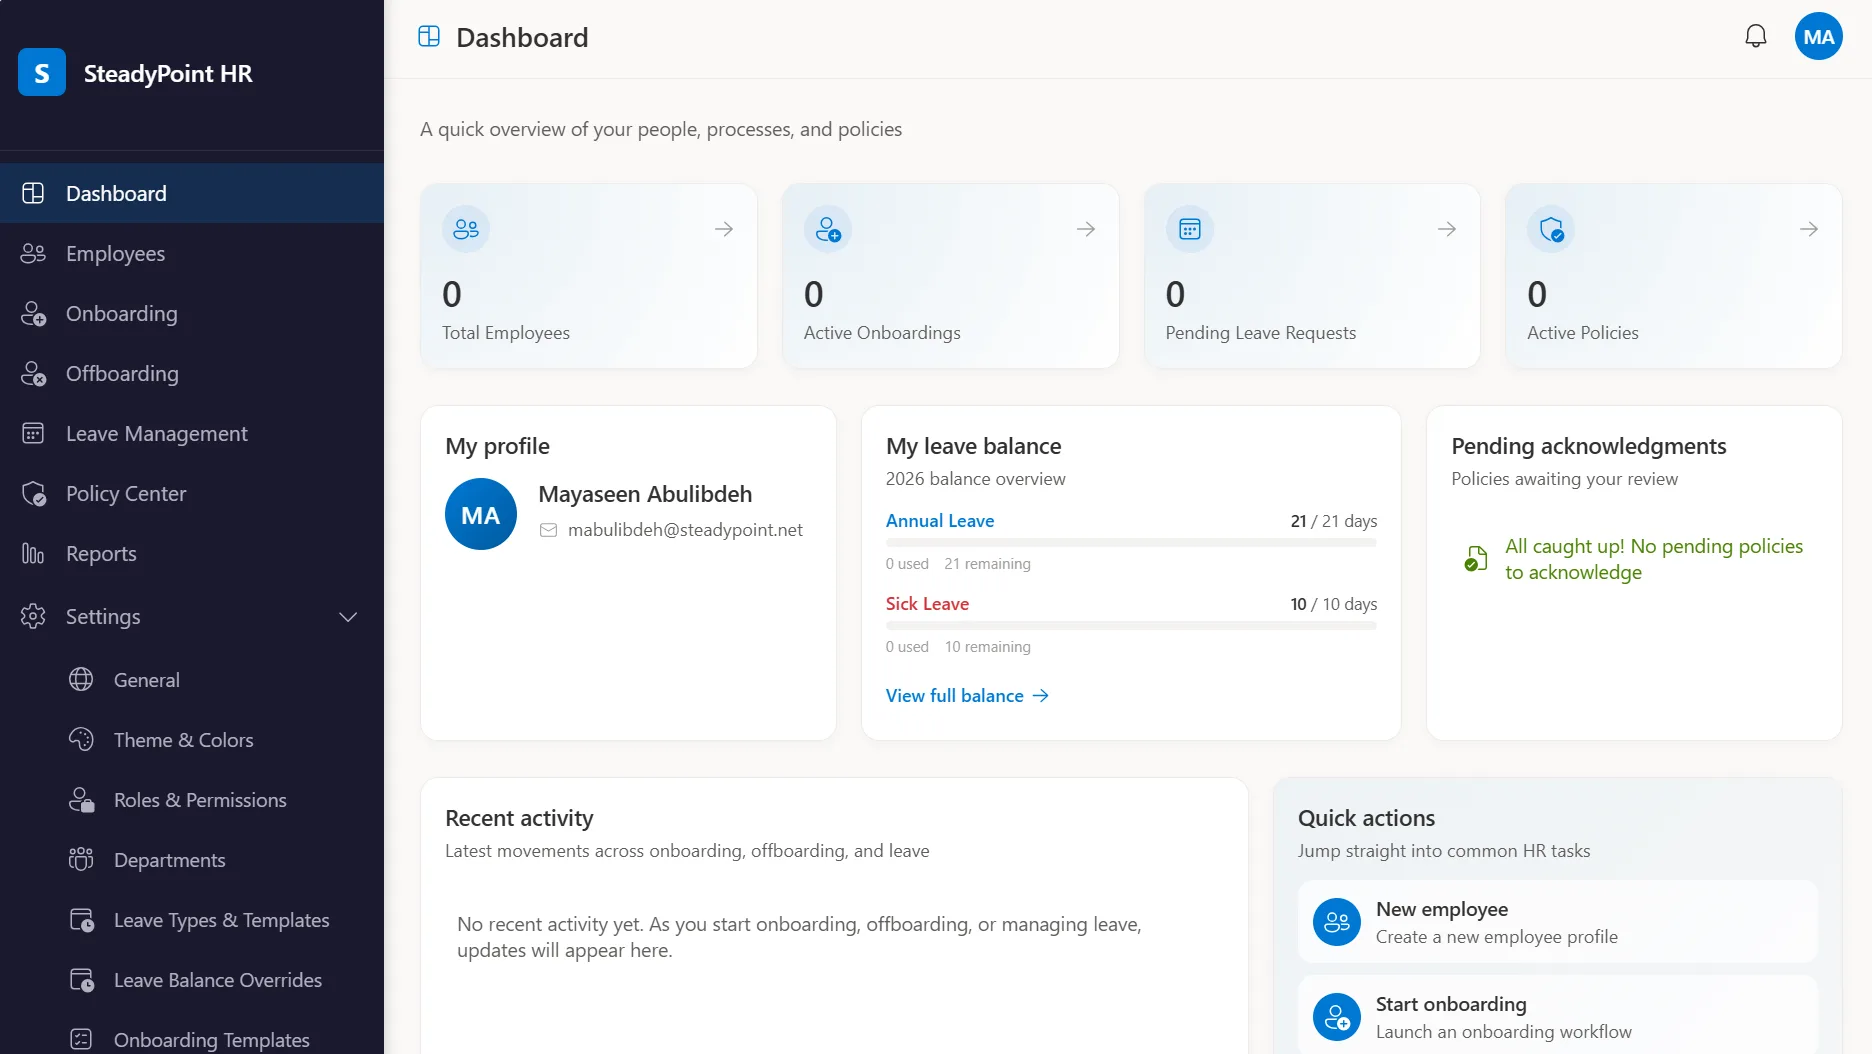
Welcome to the SteadyPoint HR installation guide. Here, you'll find a step-by-step walkthrough to help you install this Office 365 HRIS. Please note that this straightforward process may be subject to changes by Microsoft.
Need assistance installing SteadyPoint HR? Book your free meeting now — we'll walk you through it step by step!
Ready to try it yourself? Start your free trial of SteadyPoint HR. For more guides, visit the HR App blog.
How to install SteadyPoint HR from SharePoint Admin Center
From the SharePoint Admin Center, create a new site. Click on Sites > Active Sites > Create.
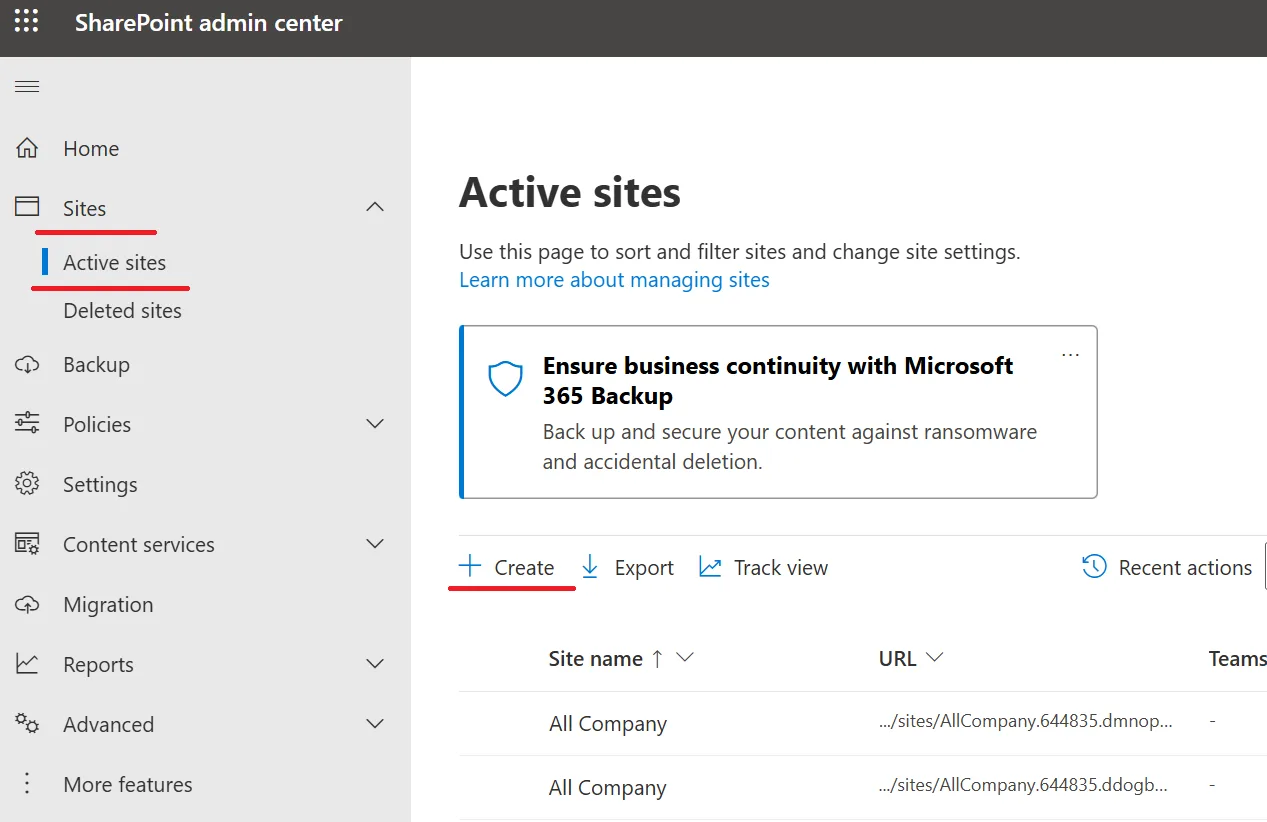
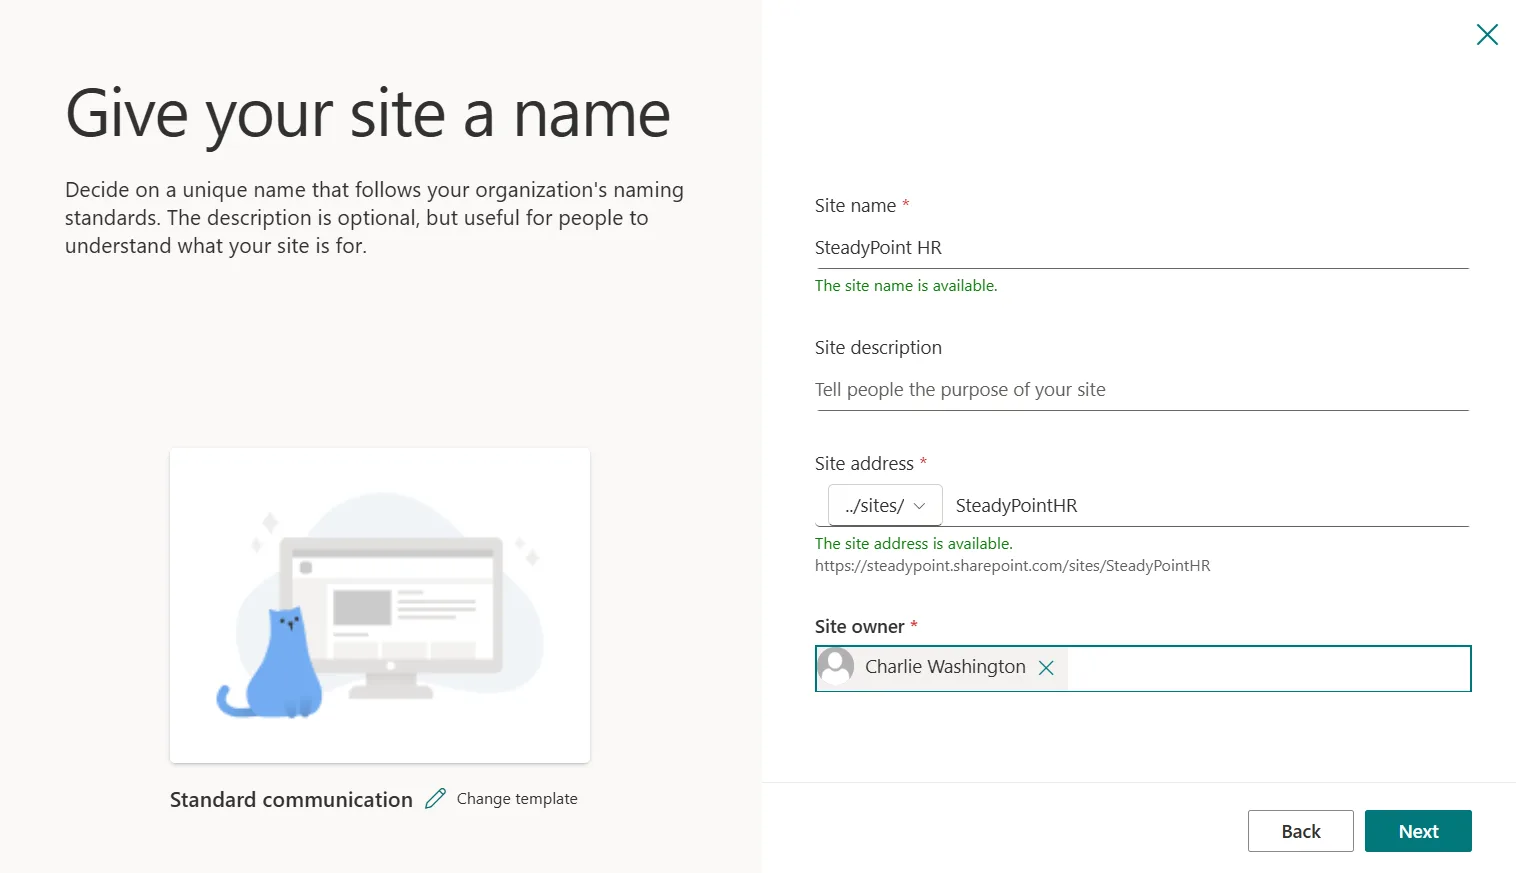
Then, give the site a name.
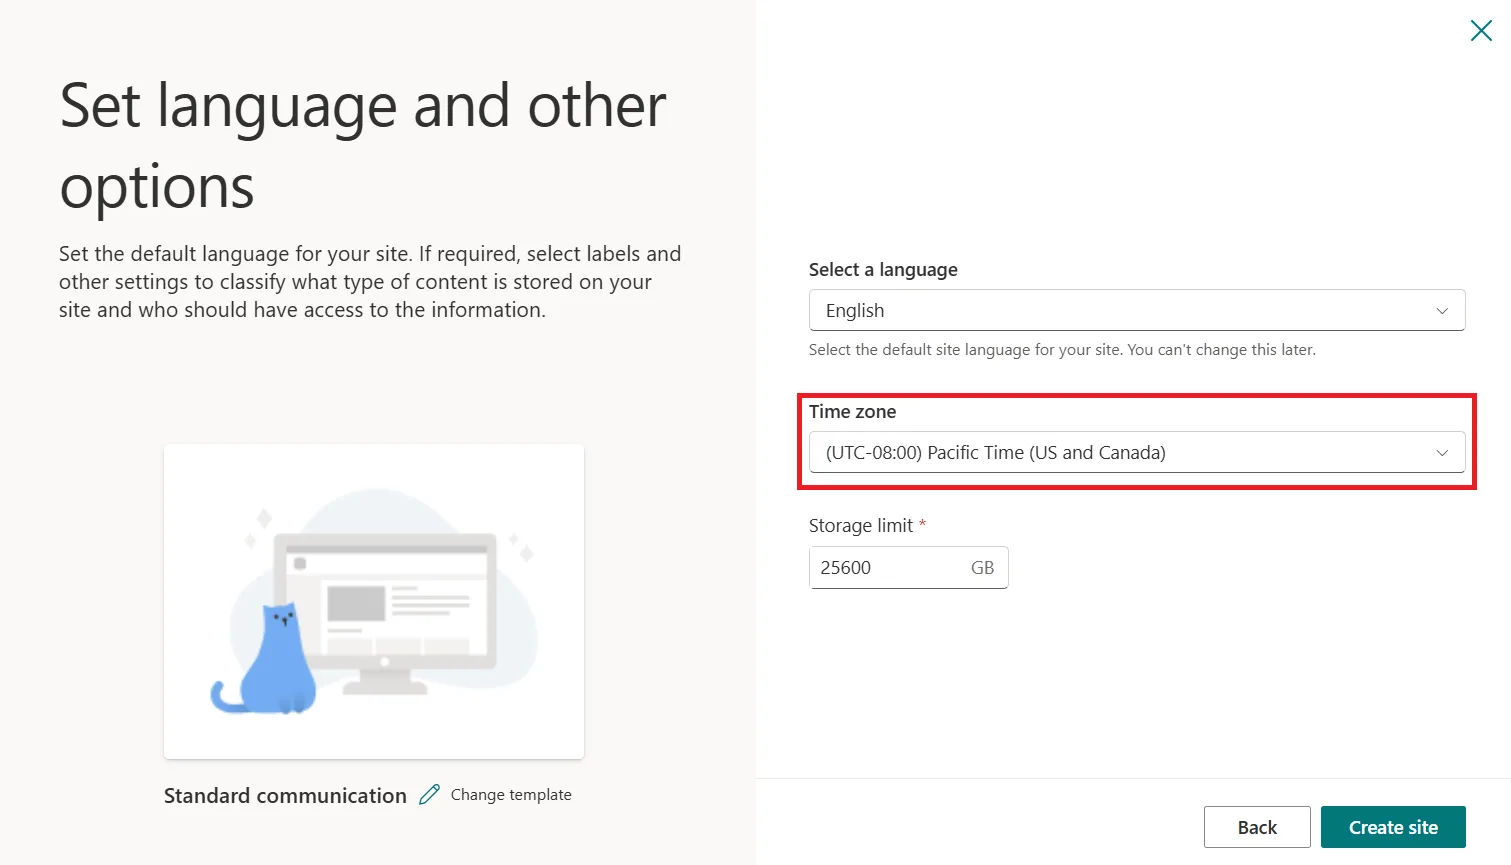
Select your time zone.
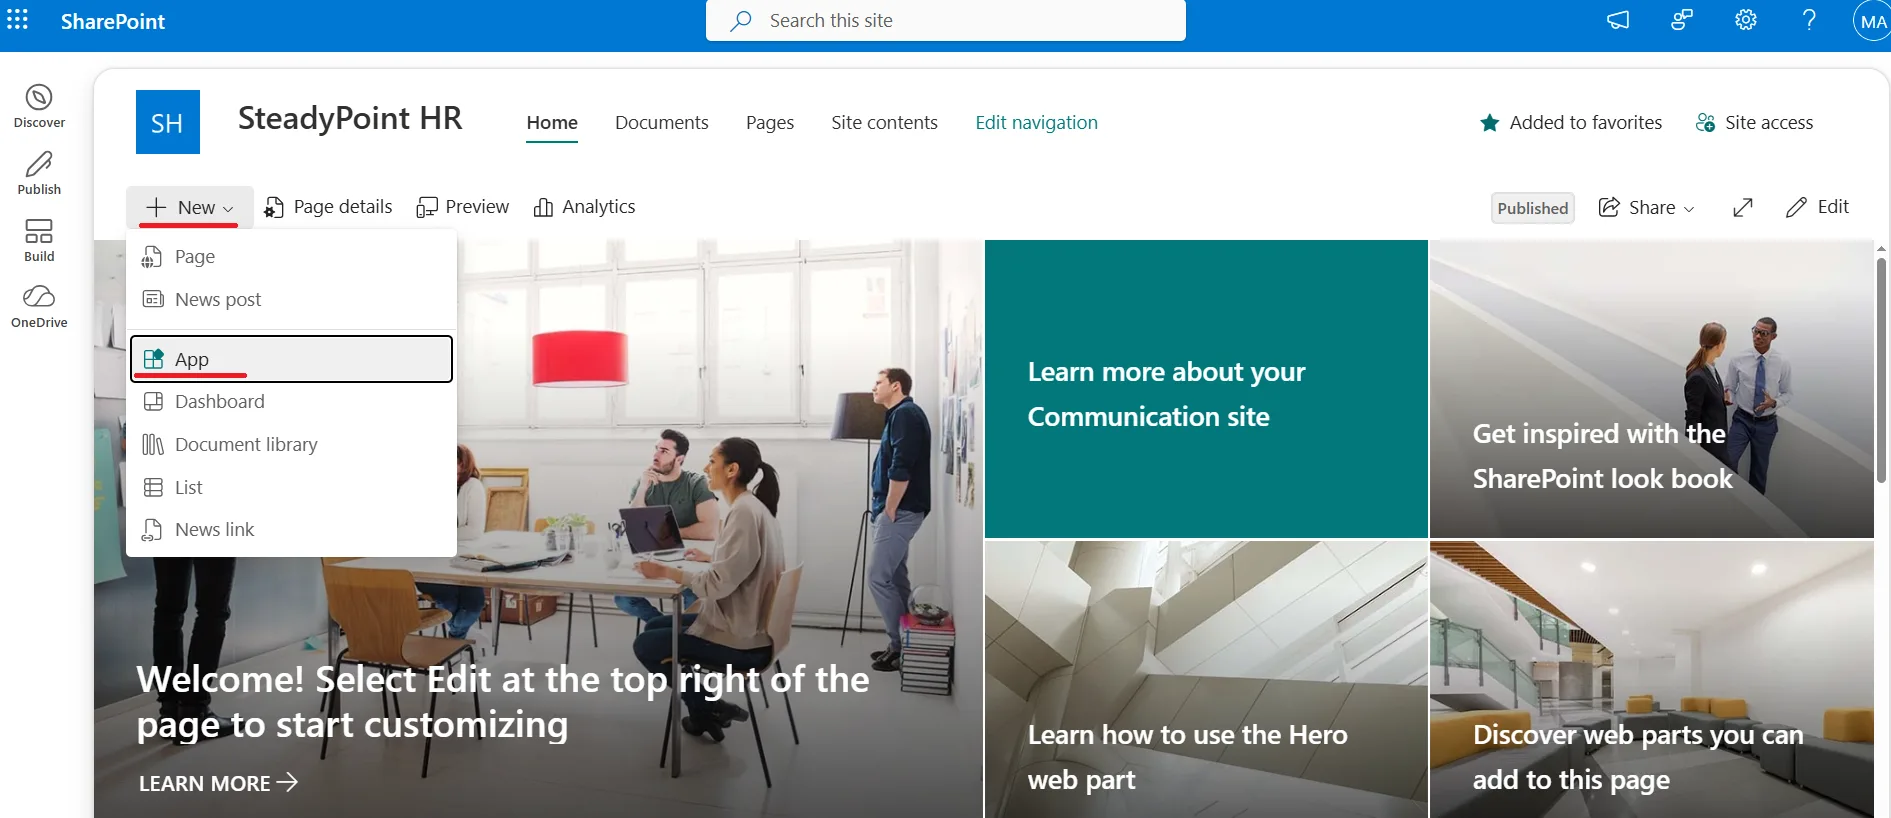
To add SteadyPoint HRIS, click on New > App.
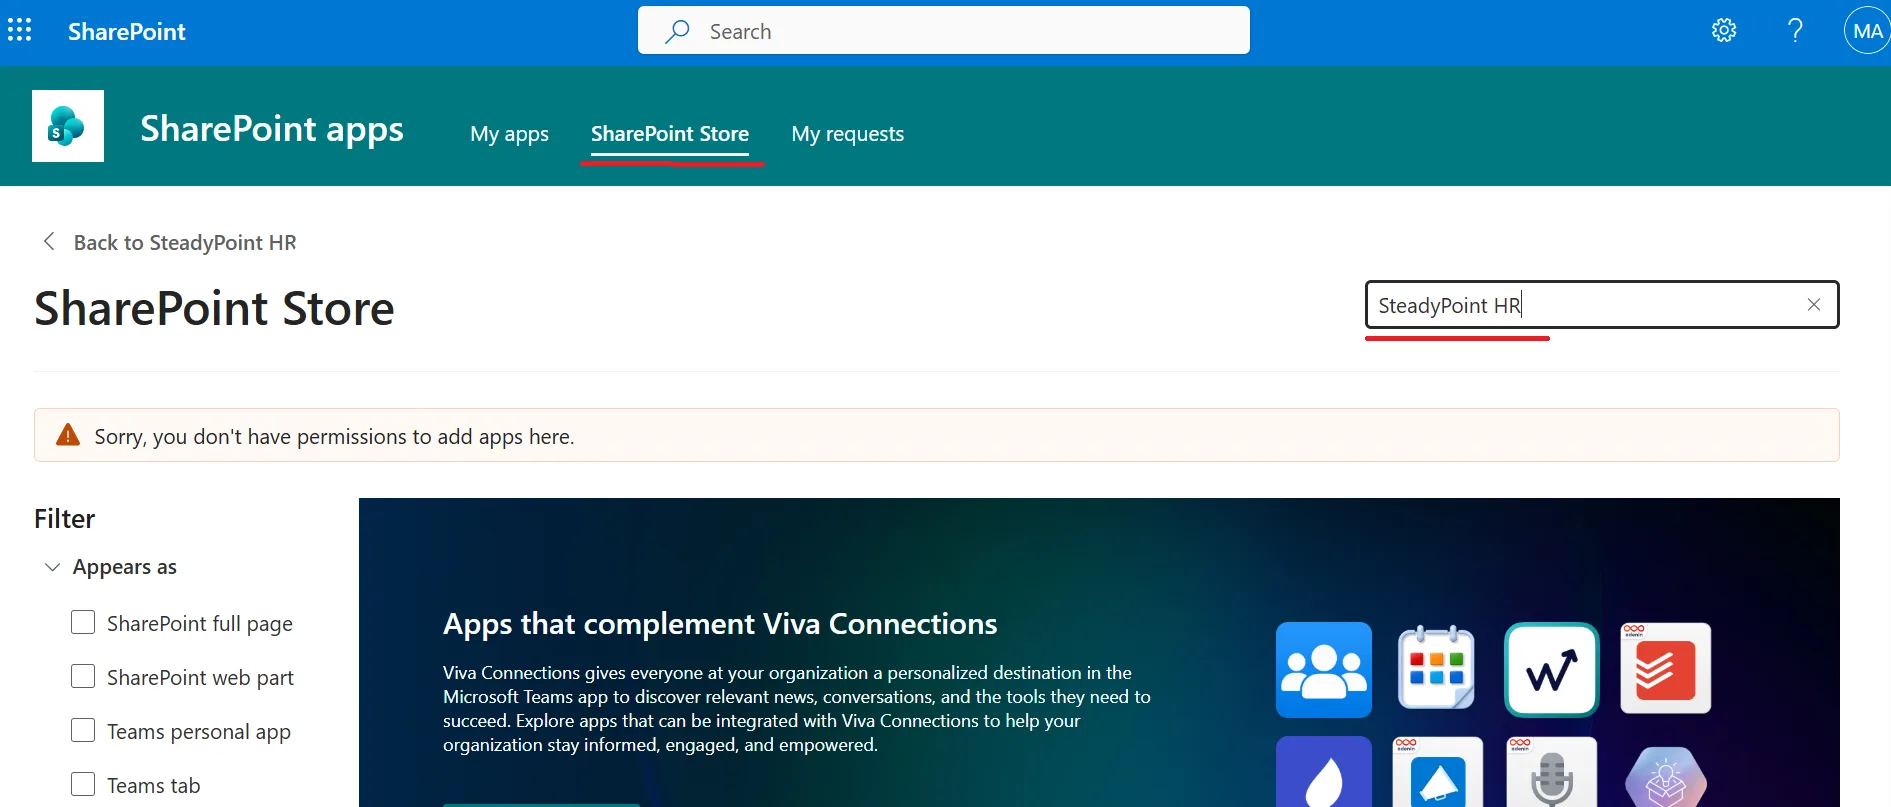
Click on SharePoint Storeand search for the app "SteadyPoint HR".
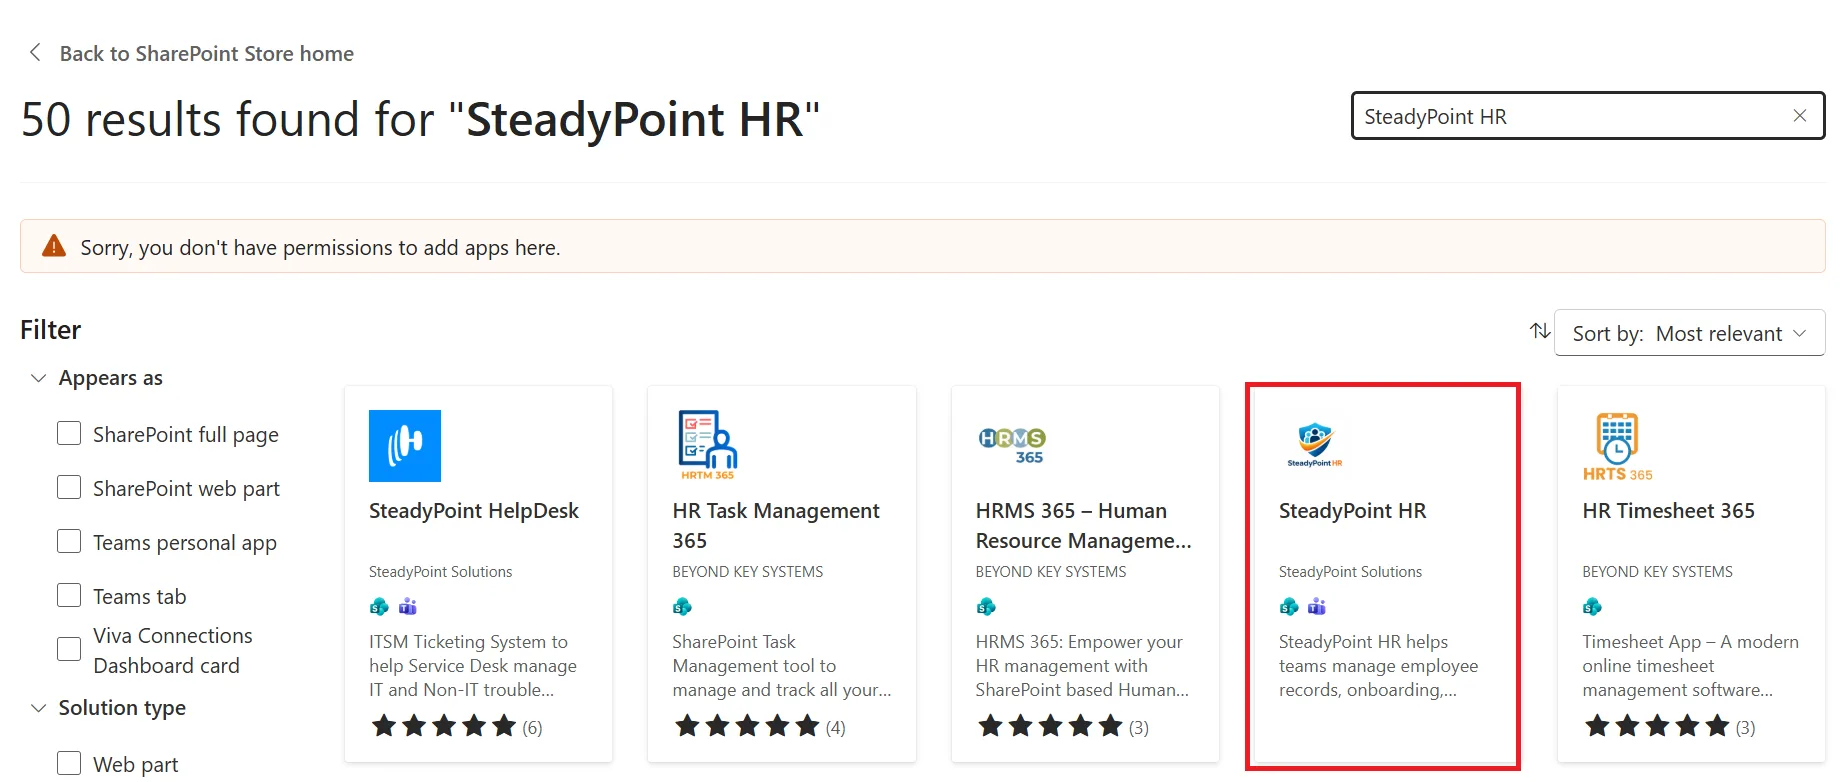
Select SteadyPoint HR.
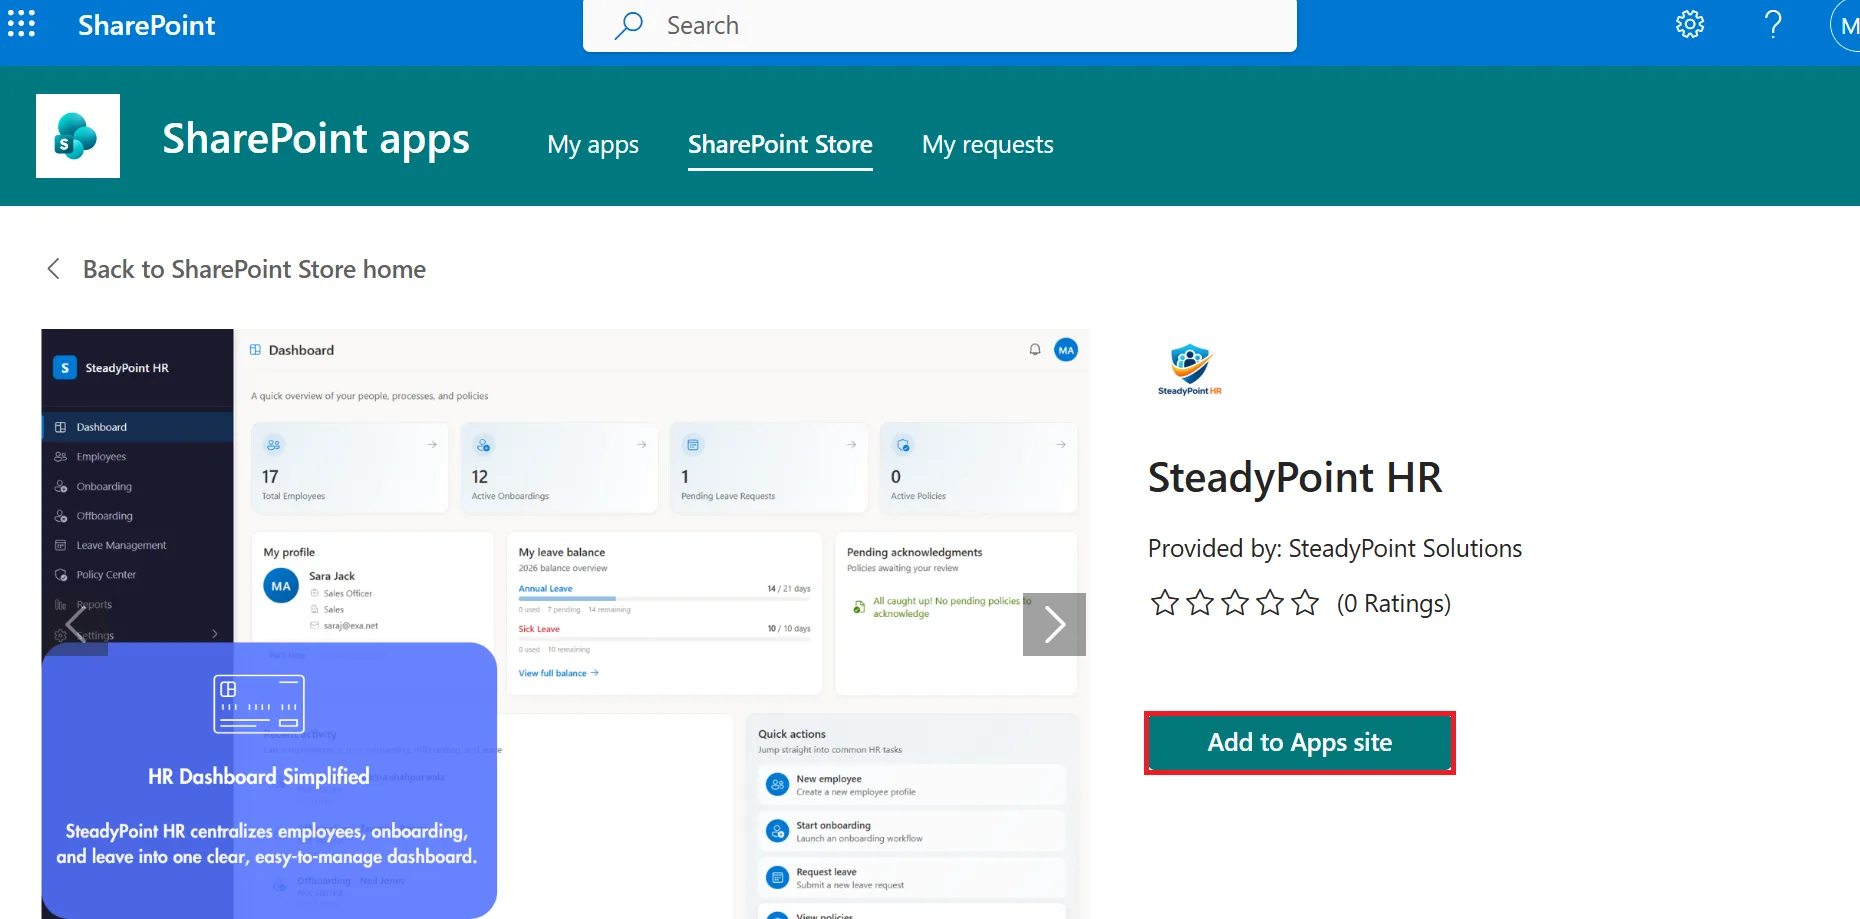
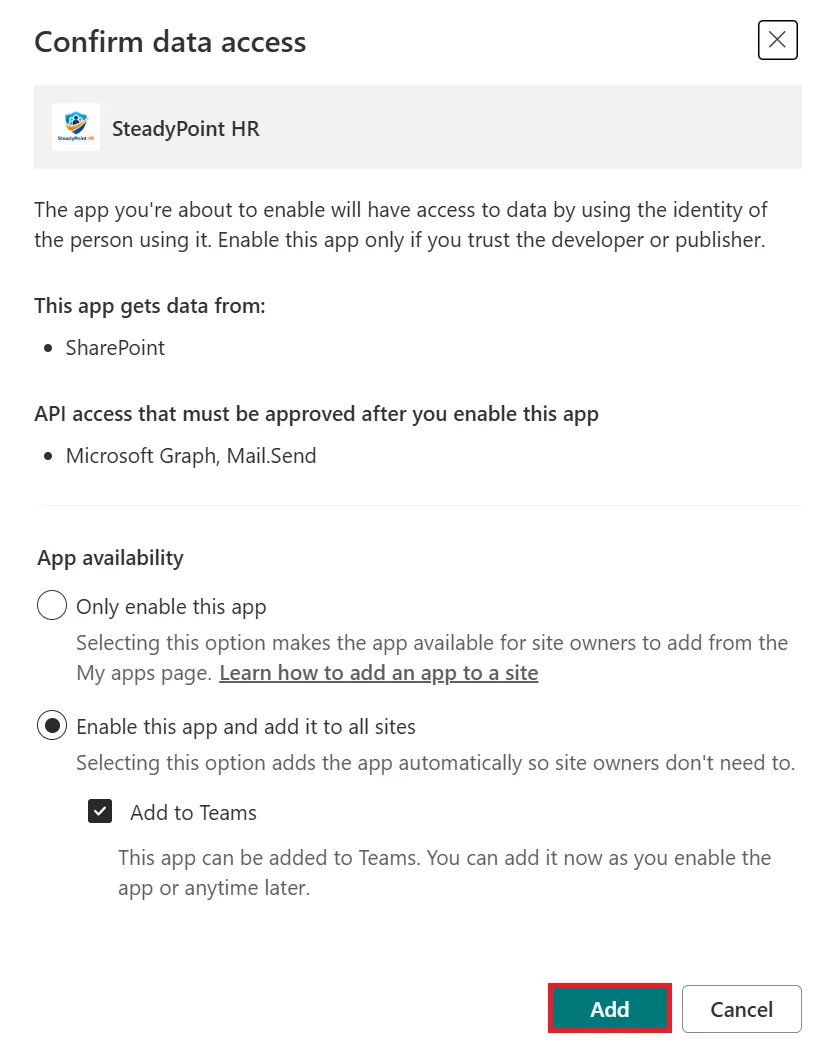
Click Add to Apps Site.
Click on Add.
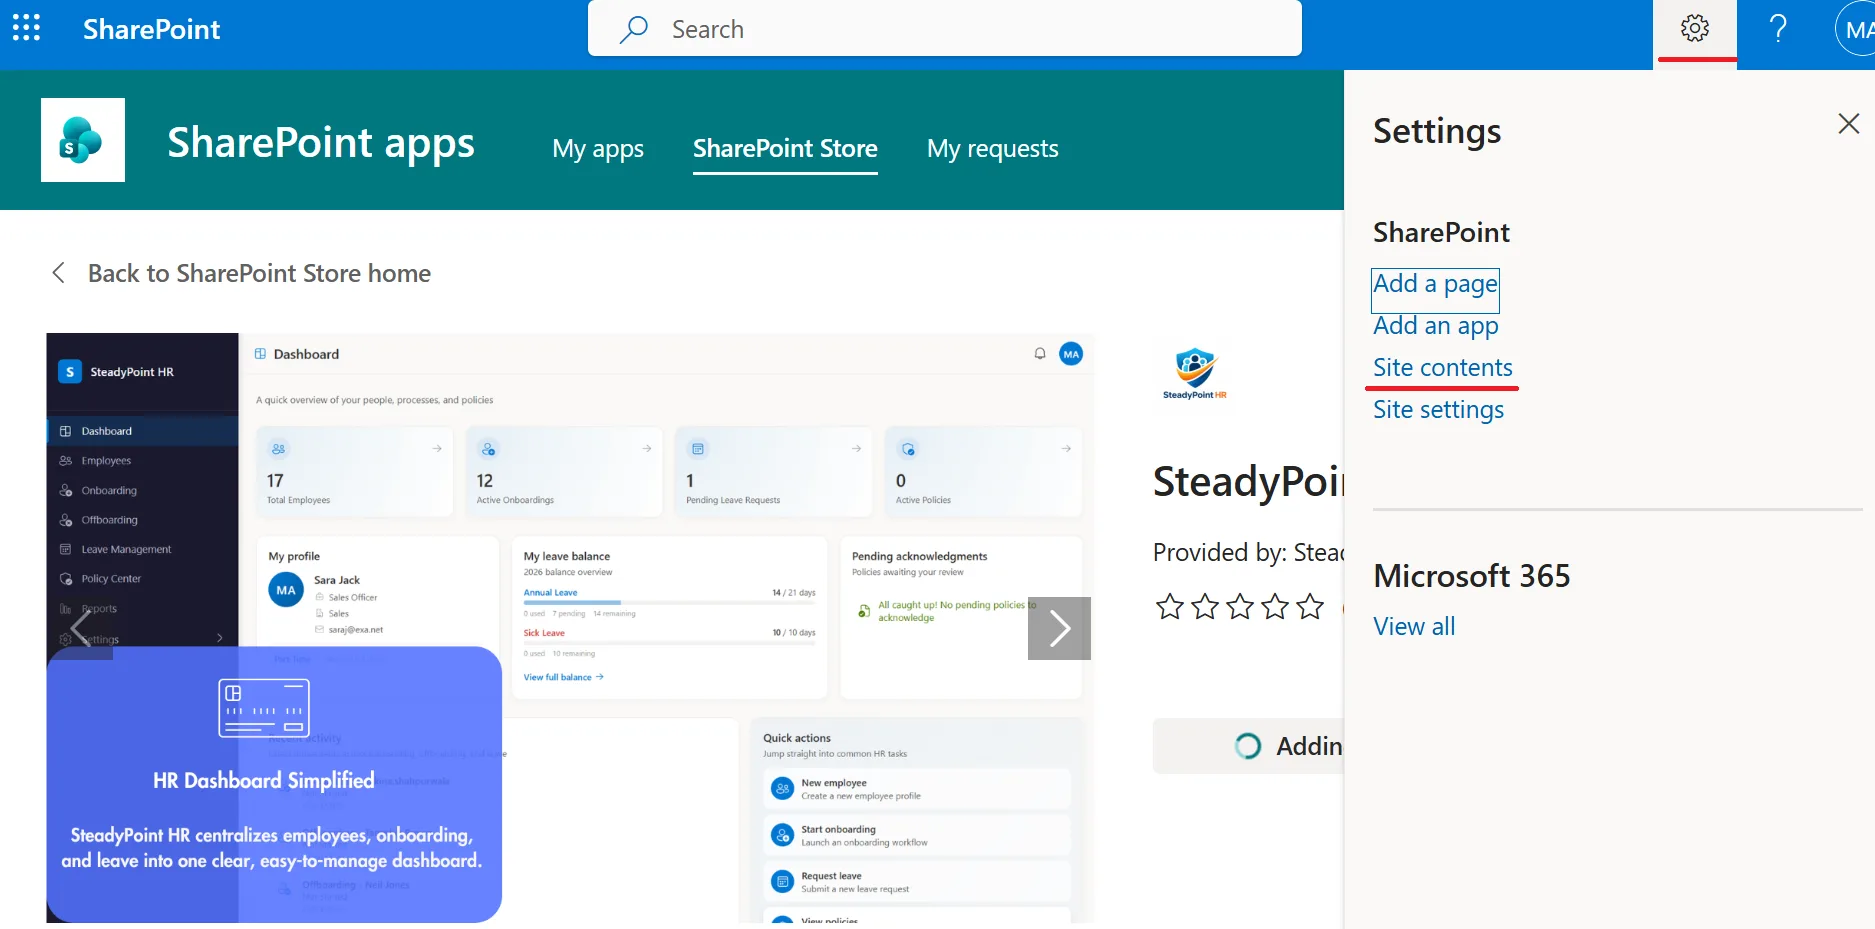
Click on the gear icon and select Site Contents.
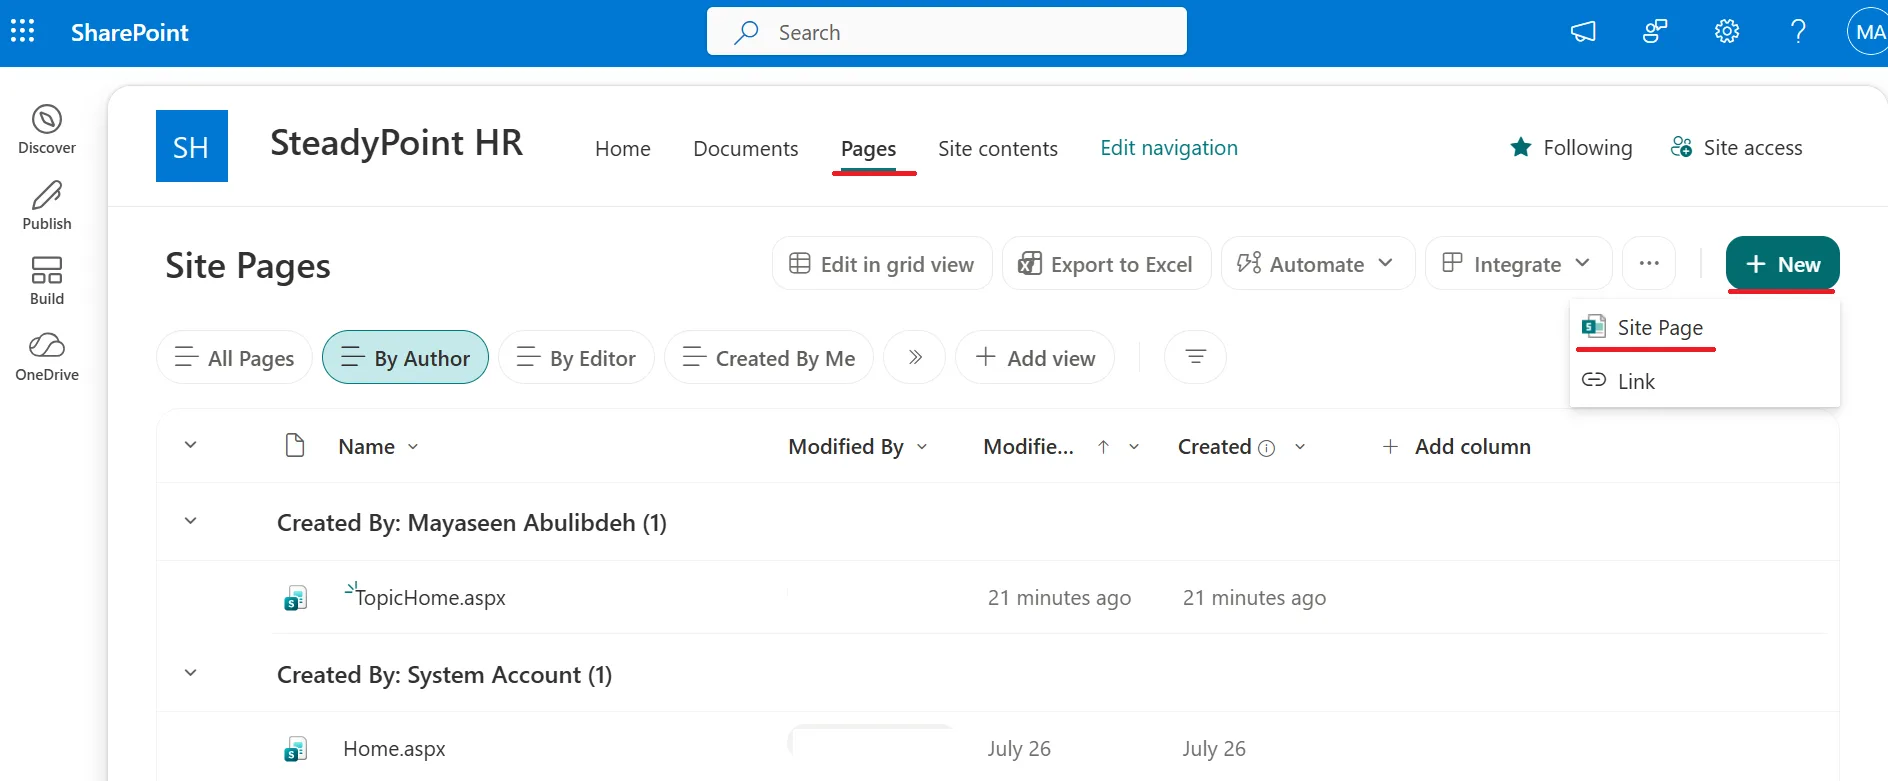
To create a new page, click on Pages > + New > Site Page.
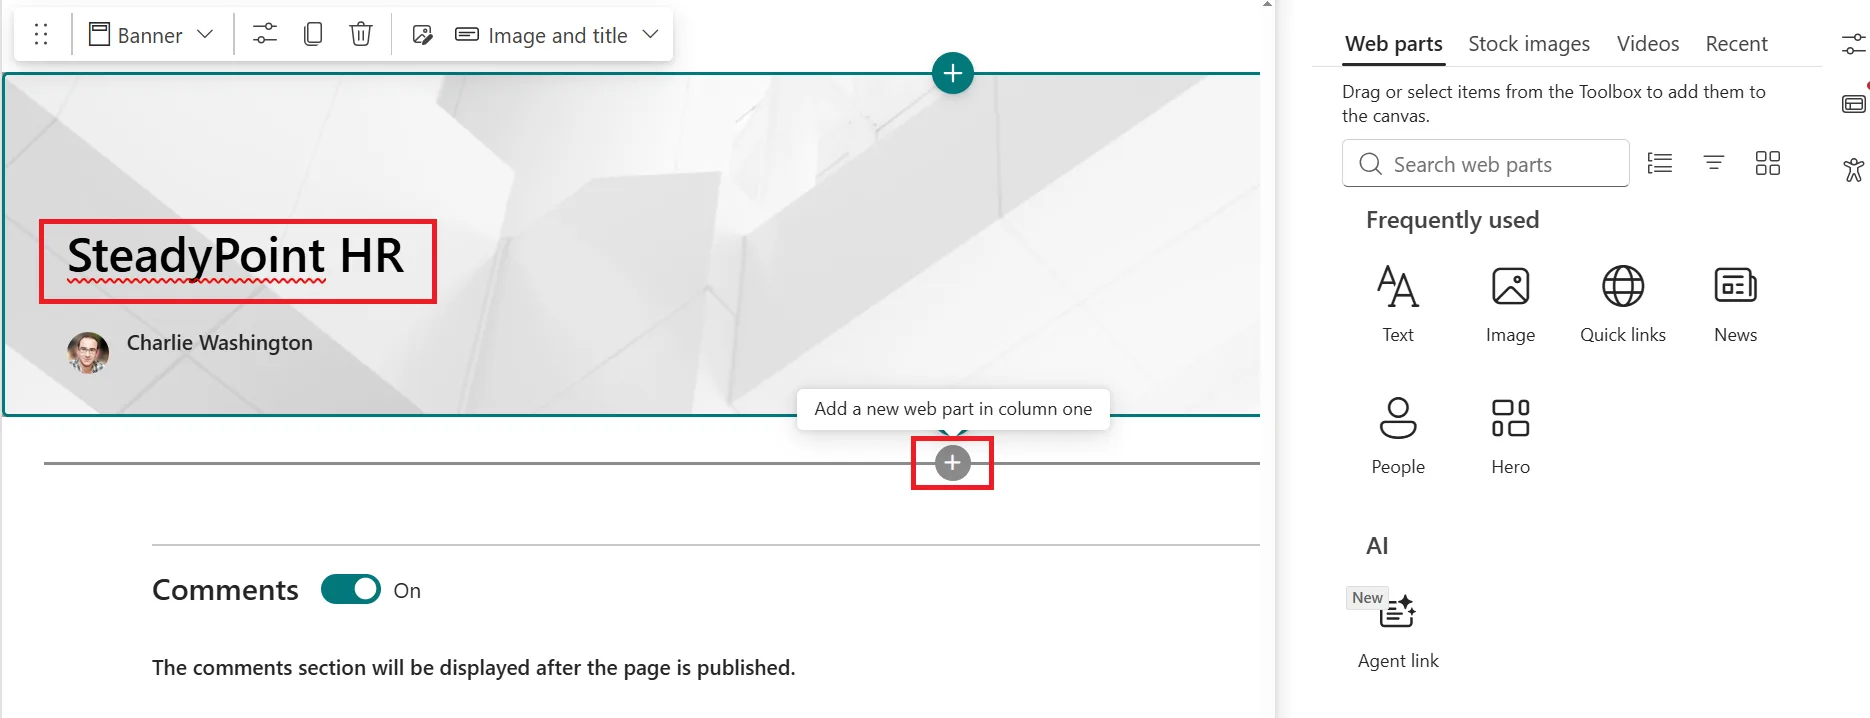
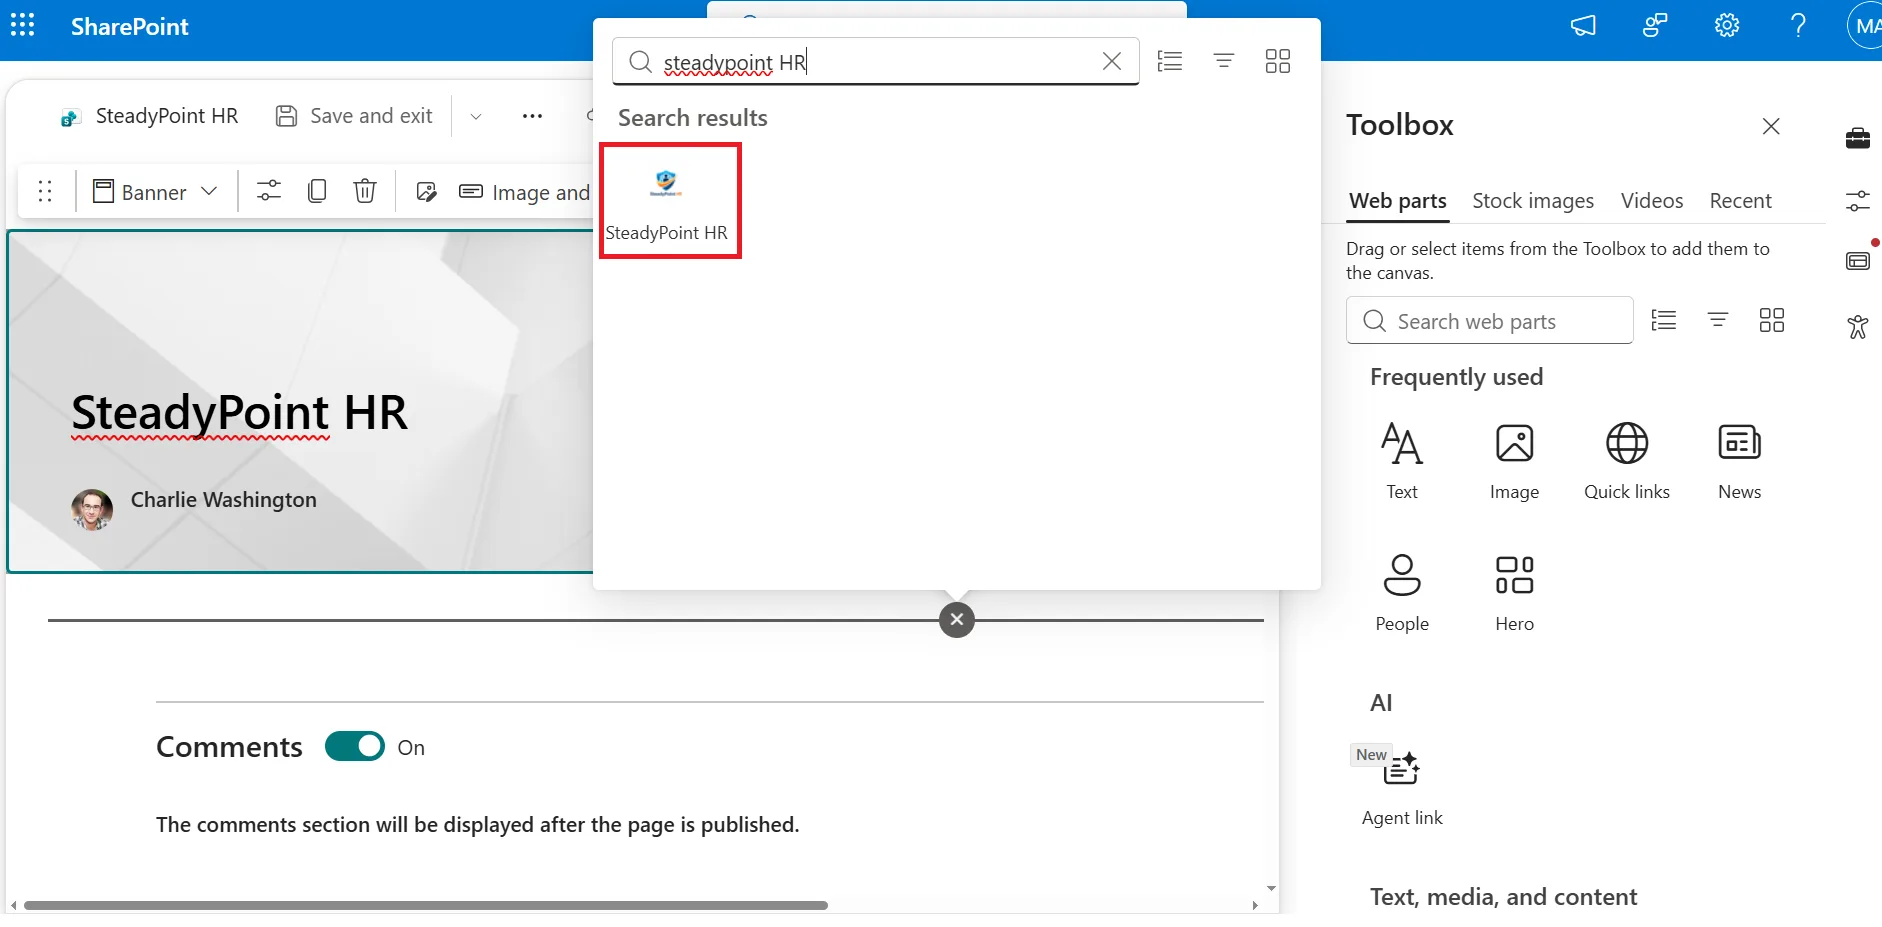
Give the page a name, such as "SteadyPoint HR", then hover over the center of the page and click the (+) sign.
Select SteadyPoint HR.
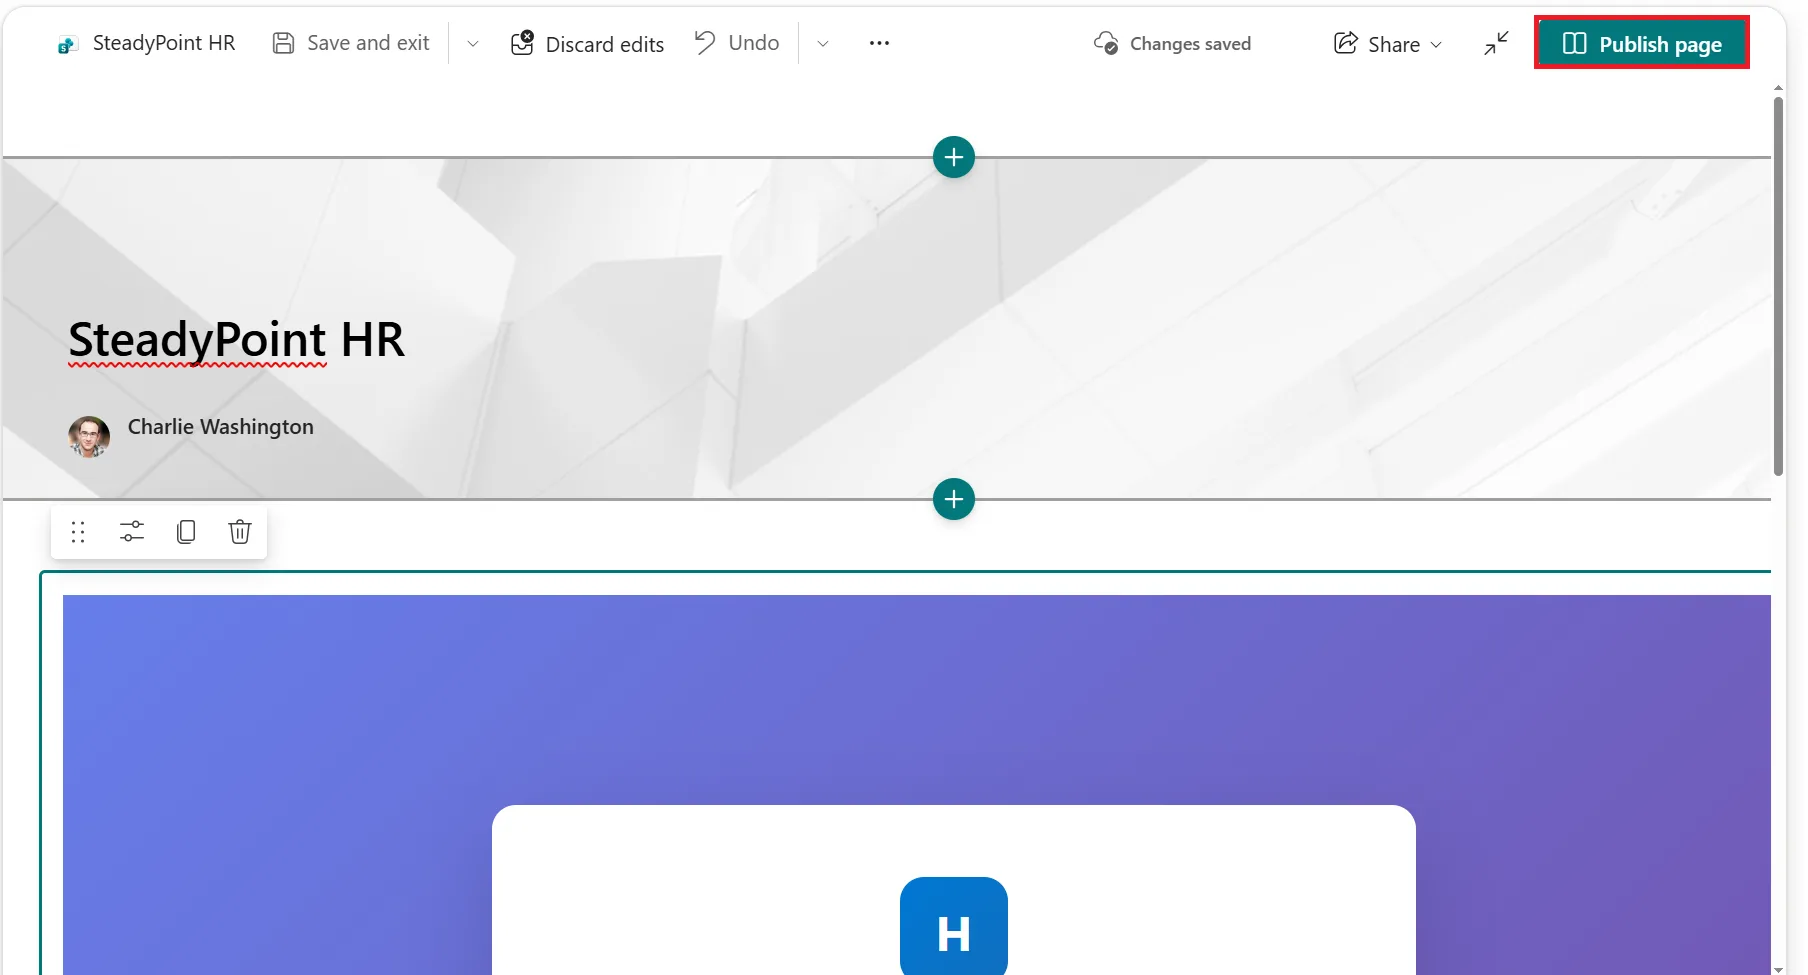
Click on Publish Page.
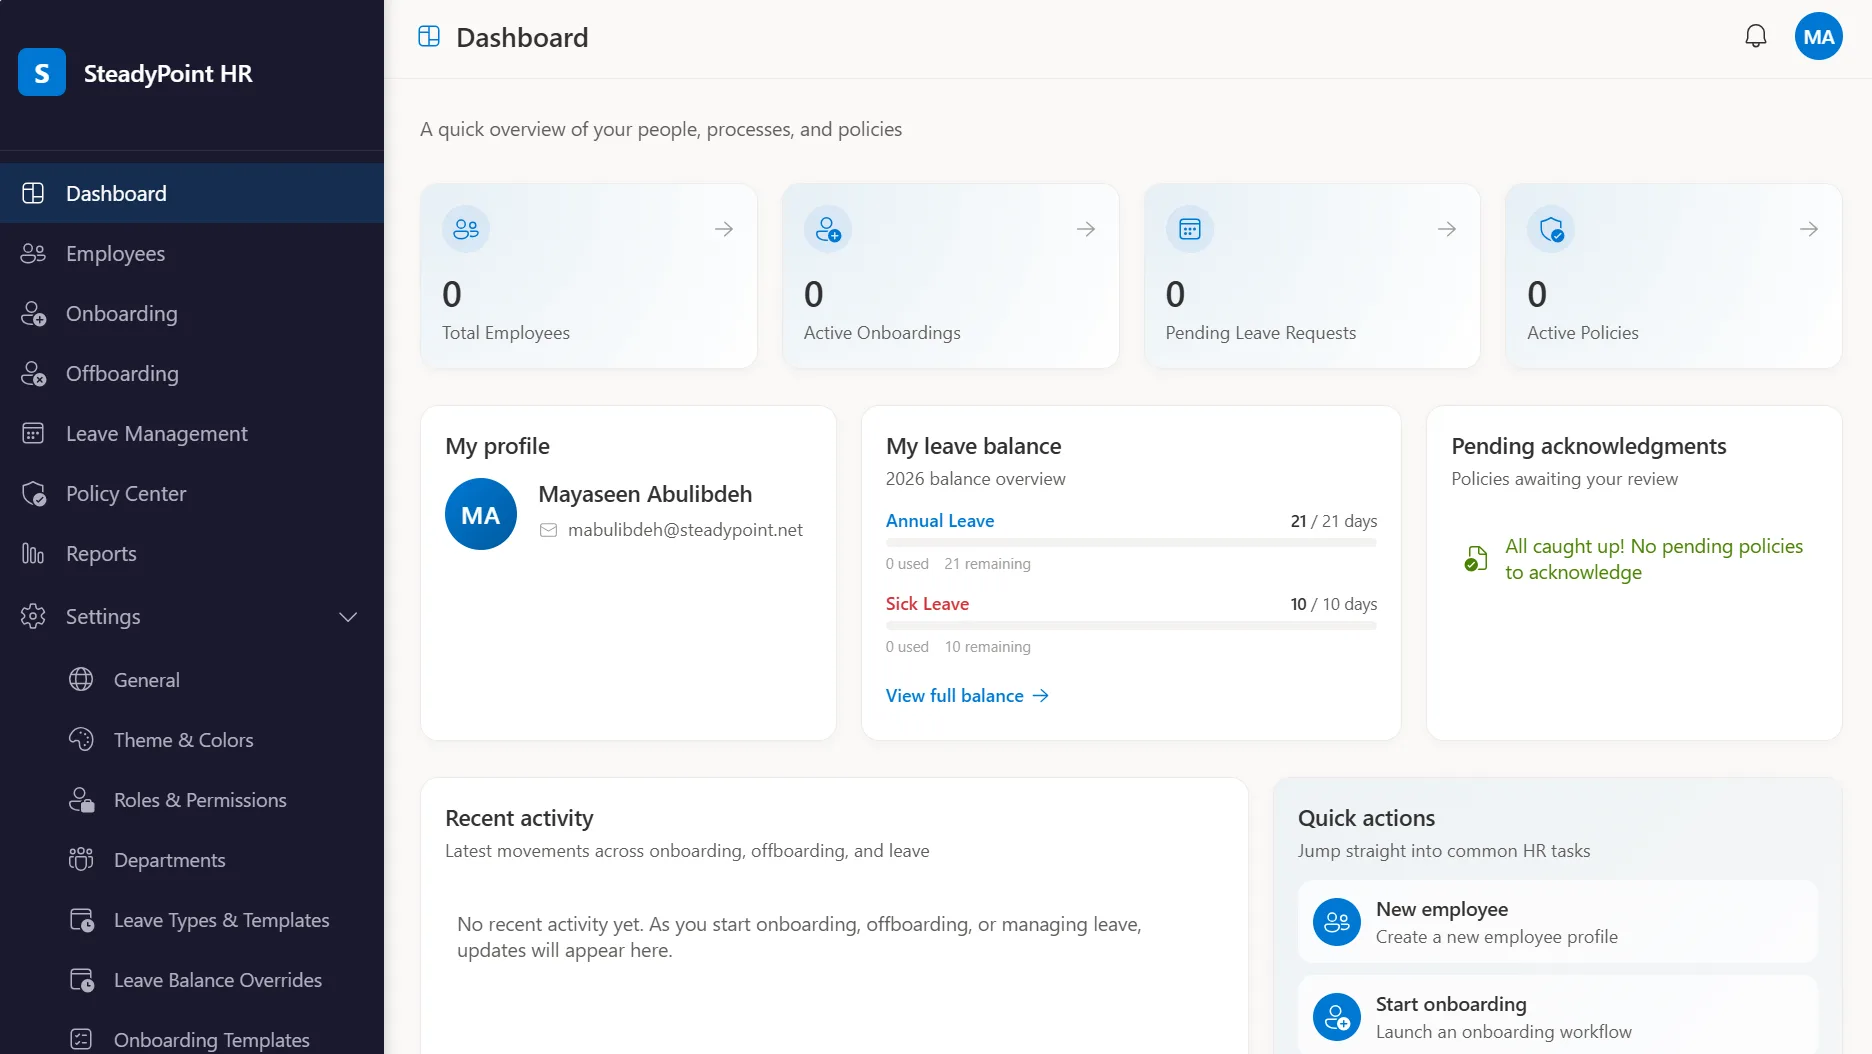
Here we go...
How to install SteadyPoint HR from Microsoft AppSource
Go to Microsoft AppSource.
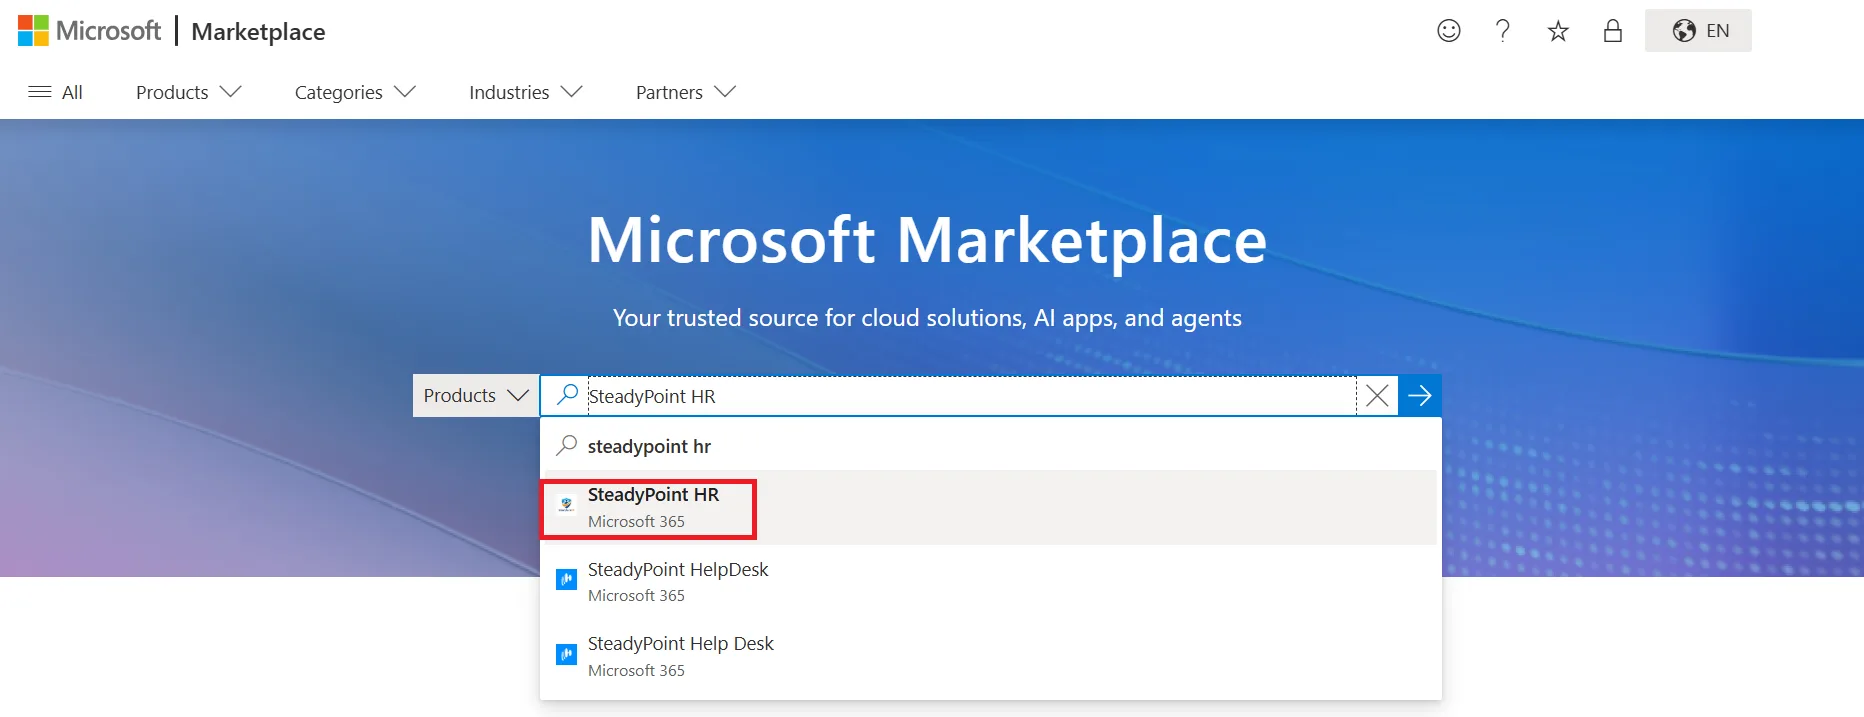
Search for "SteadyPoint HR": In the search bar at the top, type "SteadyPoint HR" and press Enter.
Click on Get it now.
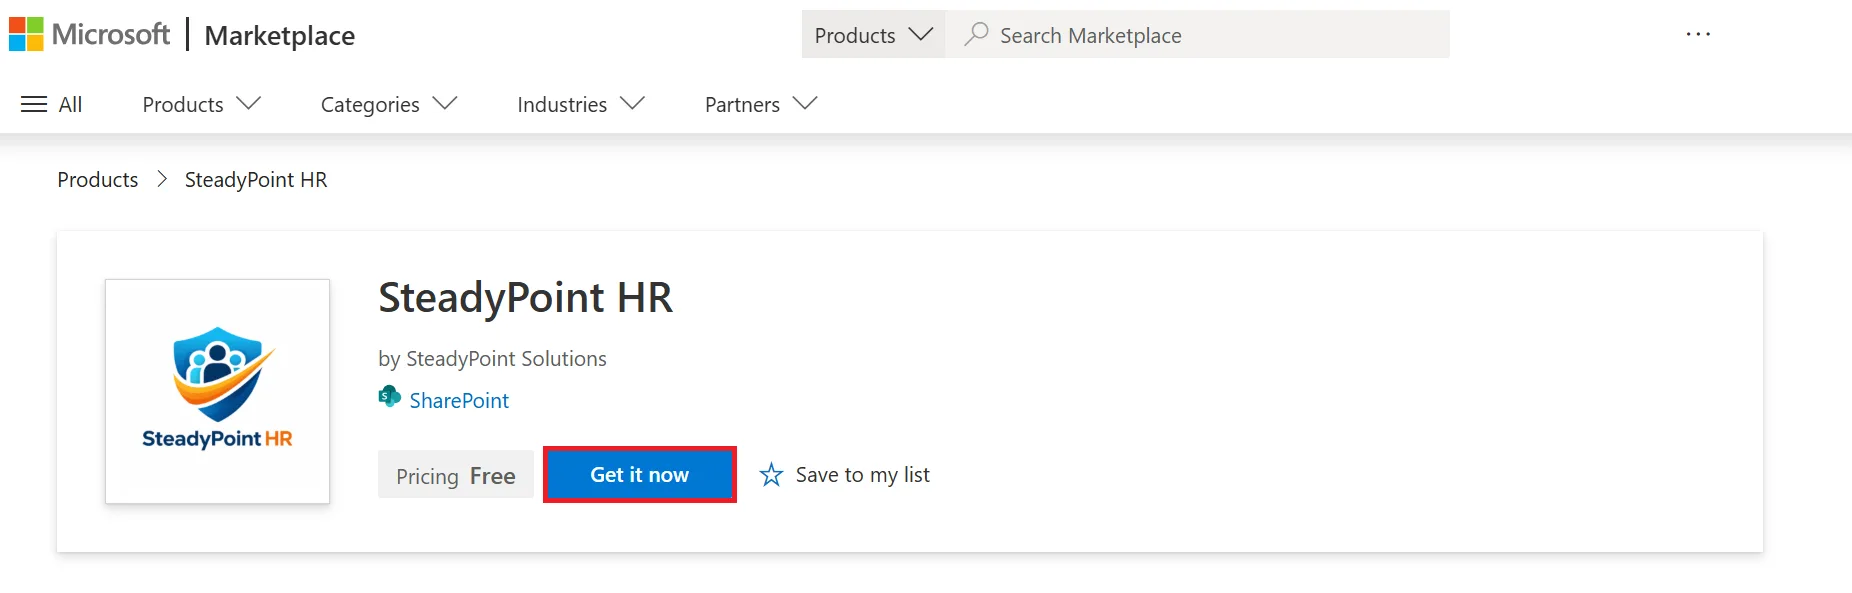
Or, you can skip the search and open the SteadyPoint HR profile directly using this link.
What's next?
Done with the installation? Set up the HR Power Automate solution for monthly leave emails and work anniversary reminders, explore the top SteadyPoint HR management system features, or learn how to add new employees in SteadyPoint HRIS.
Don't miss out — Start your free trial of SteadyPoint HR