We use Microsoft Power Automate to connect your support emails (e.g., support@company.com, helpdesk@company.com, etc.) with our SharePoint Helpdesk; this allows you to open tickets via email. You can configure multiple email accounts to collect support requests.
In this blog, we will discuss the steps required to set up ticket creation via email in SteadyPoint Office 365 ticketing system.
Steps to Configure Ticket Creation via Email in SteadyPoint SharePoint Helpdesk
- Make sure you set up your dynamic workflow beforehand. Use this guide: Set Up the Automation Solution Step-by-Step.
- Go to Microsoft Power Automate.
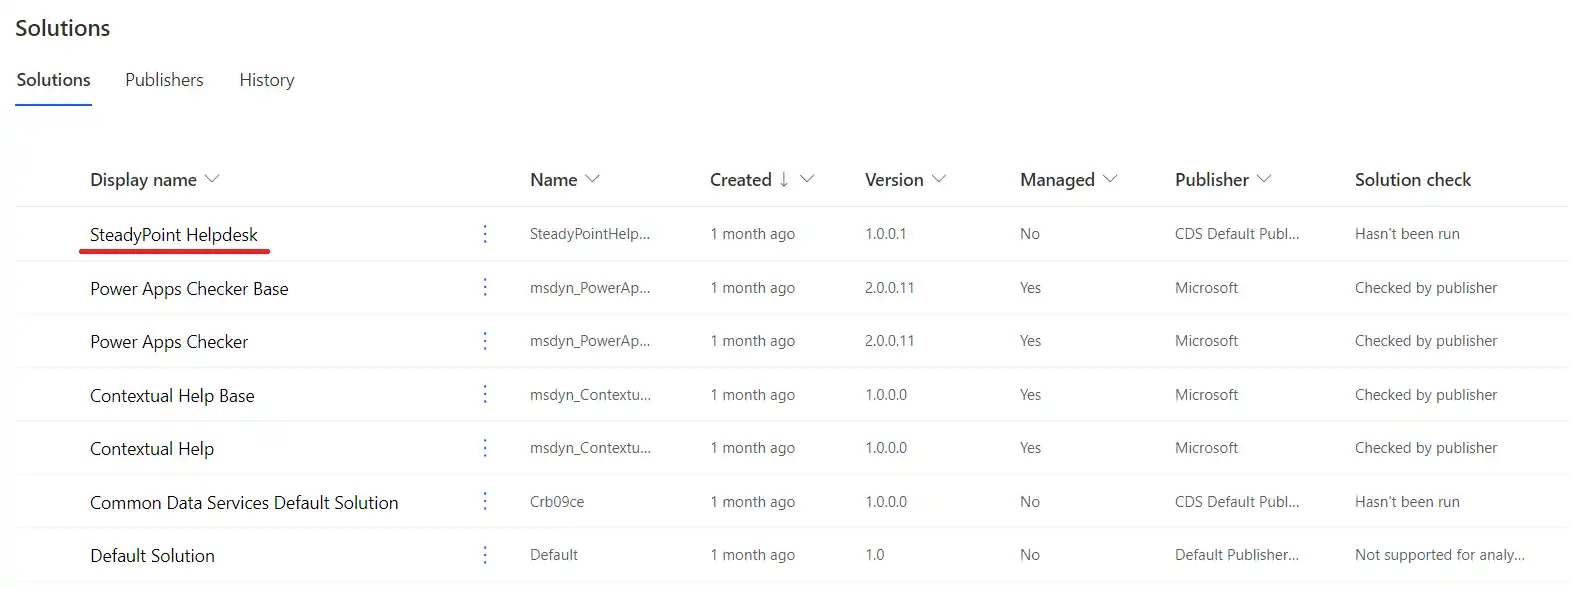
- Click on Solutions.

- Click on SteadyPoint Helpdesk.
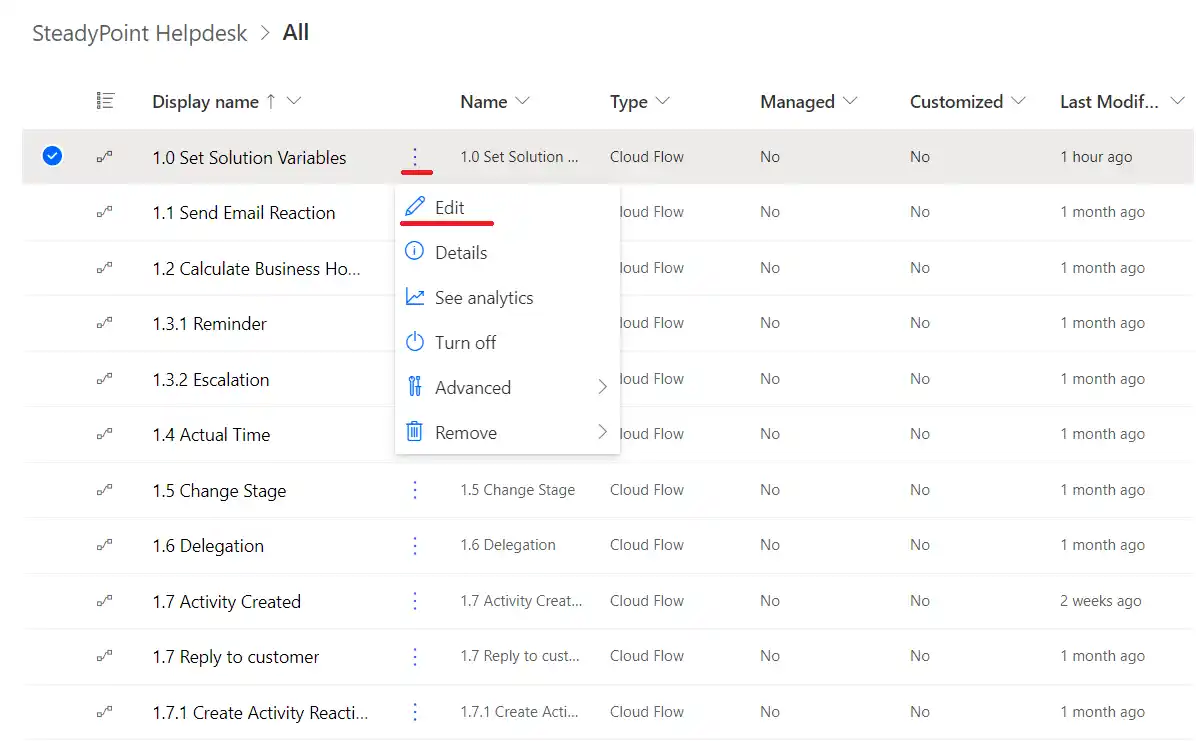
- Click on the three dots next to Set Solution Variables and select Edit.
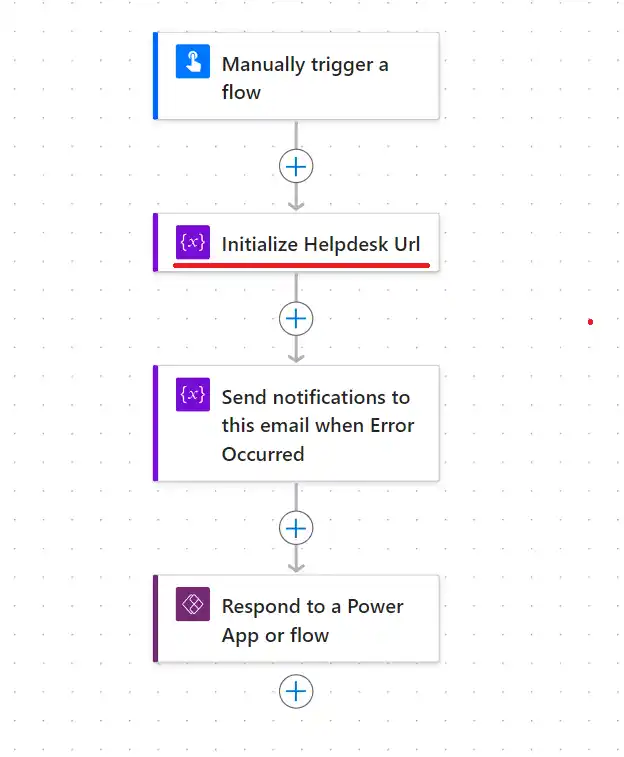
- Click on Initialize Helpdesk URL.
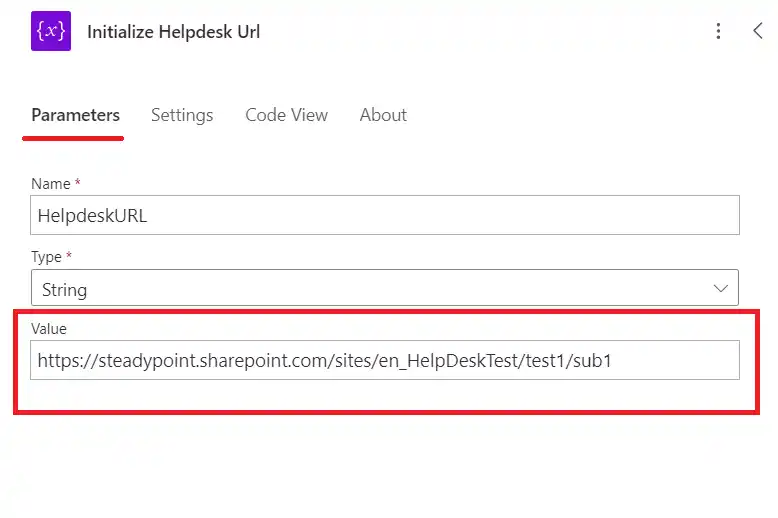
- In the menu under Parameters, input the URL where the app is installed (for example: https://steadypoint.sharepoint.com/sites/HelpDeskTest) into the Value field.
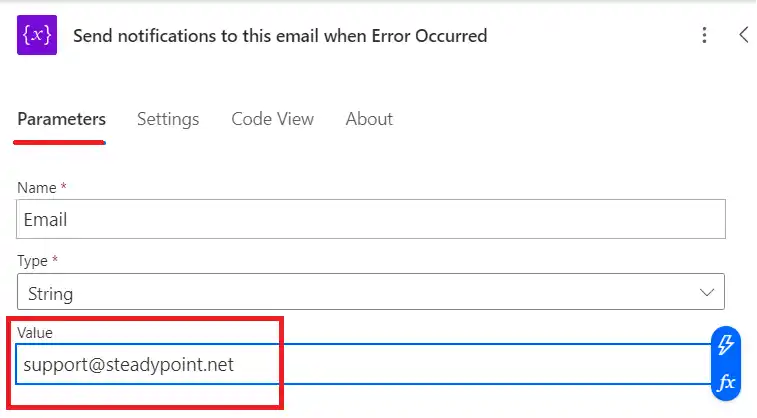
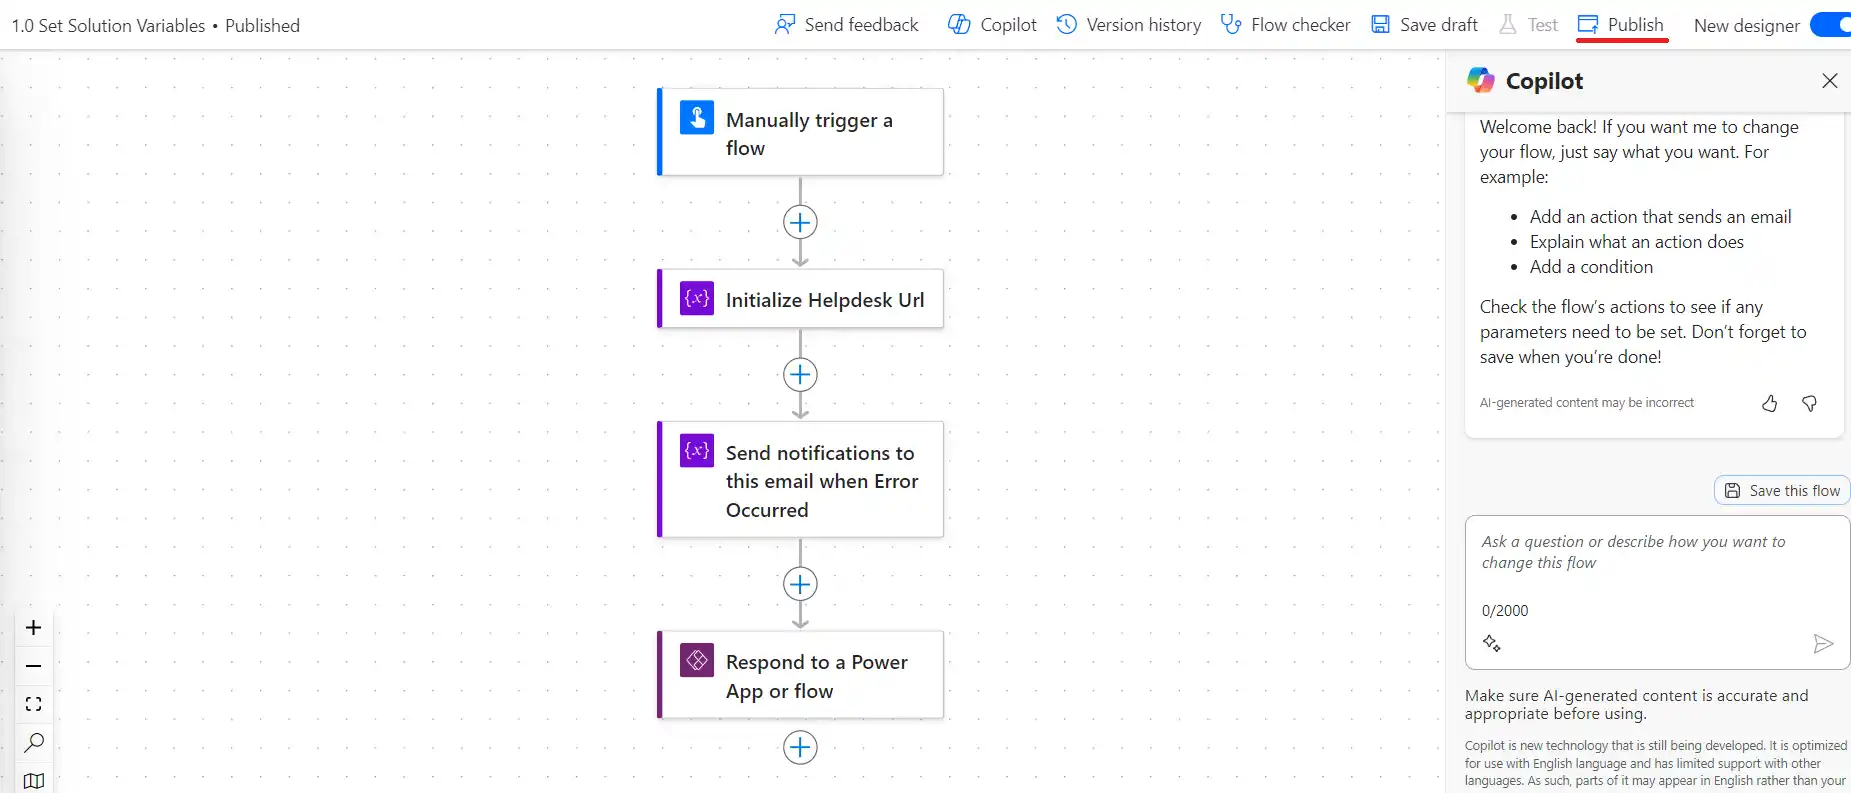
- Click on Send Notifications to This Email When Error Occurred.

- In the menu under Parameters, input the Email Address where error notifications will be sent (e.g., support@companyname.net) into the Value field.
- Click on Publish
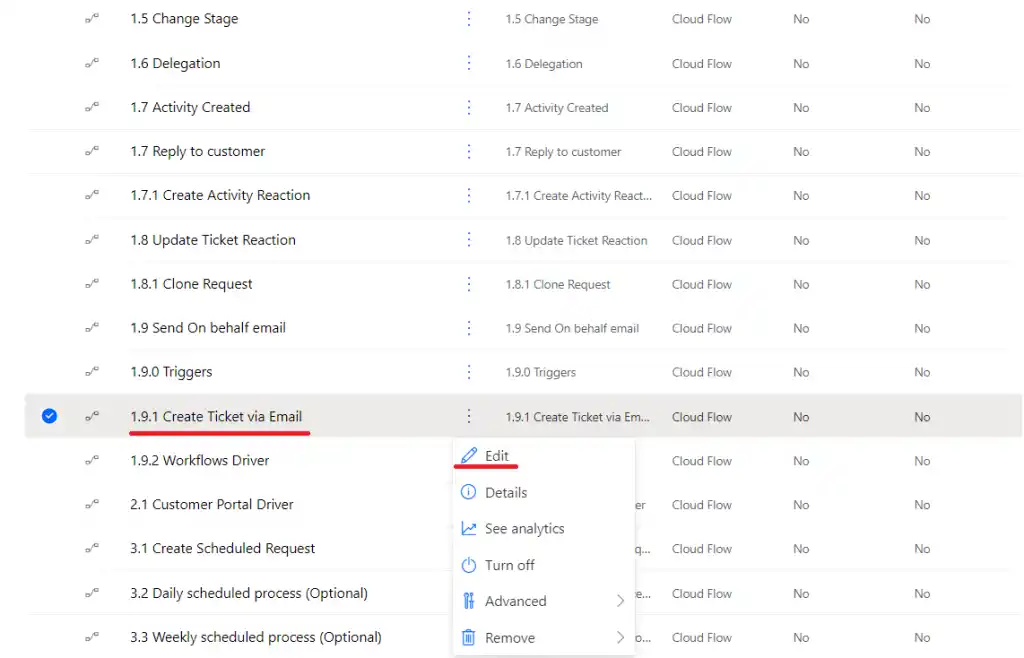
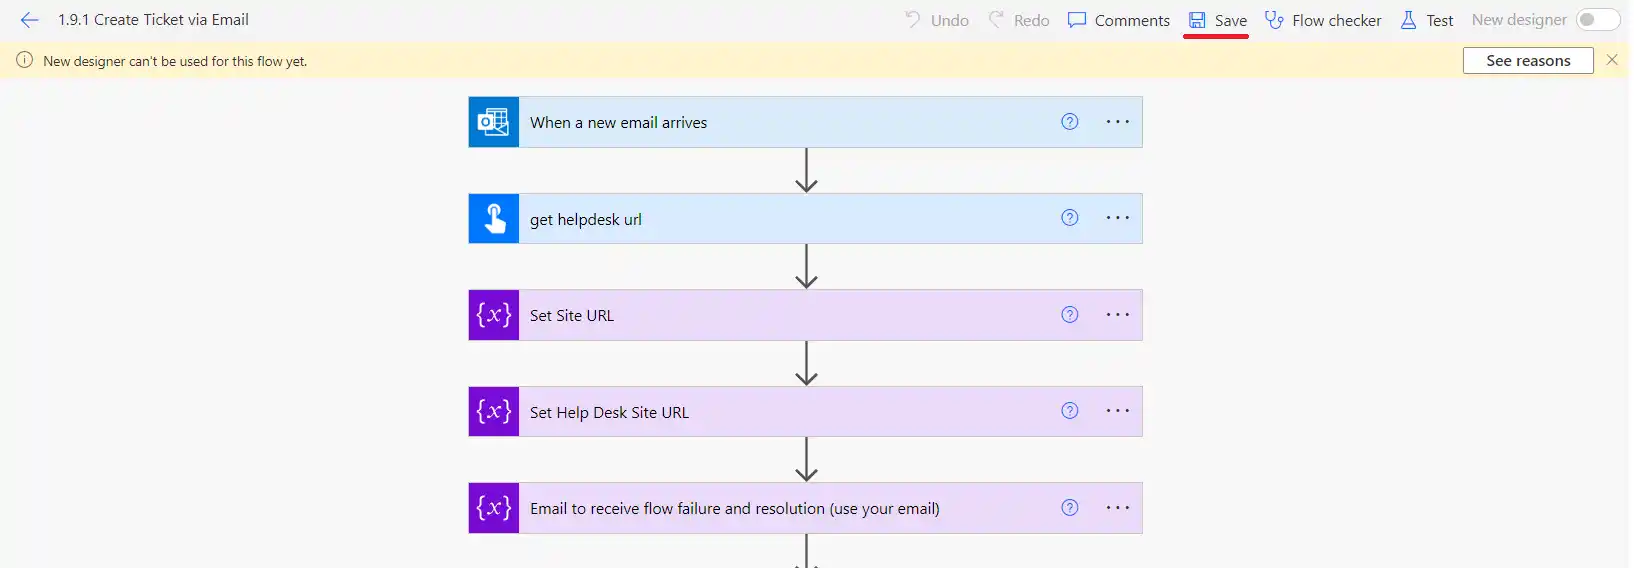
- Click on the three dots next to Create Ticket via Email and select Edit.
- Click on the three dots on the right side of the menu When a new email arrives, add the email address that you want the emails to arrive to.
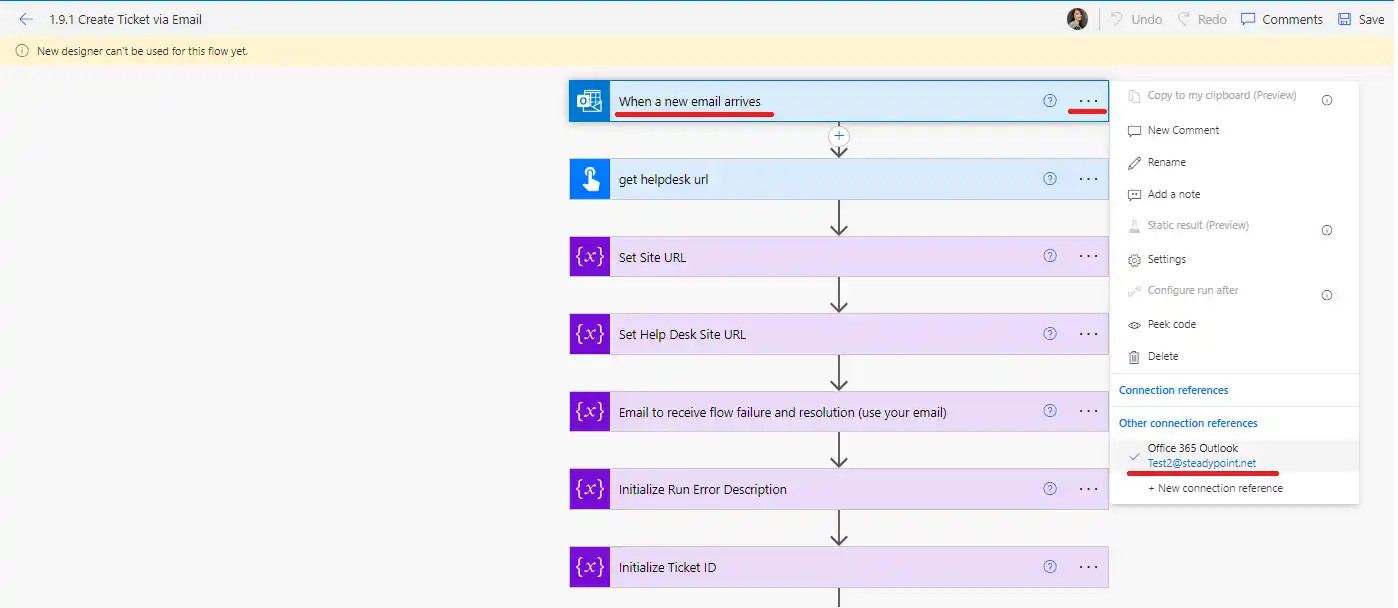
- Once you finish editing, it’s time to save your work by pressing Save on the upper-right side of the screen.
- Ensure that the ticket creation via email flow is enabled.

Sending an Email to Open a Ticket
Now that the flow is finished, you can test your flow by sending an email to the assigned user.
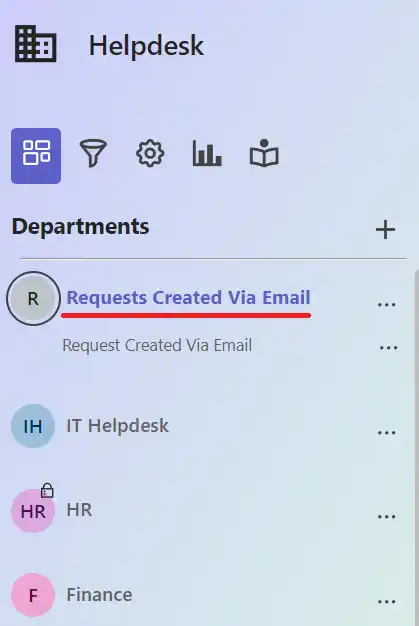
Access Created Tickets via Email in SteadyPoint SharePoint Helpdesk
When tickets are created from emails received, the system will automatically create a department to organize these email-based tickets. You can manage who has access to these tickets through the department settings (i.e. members). Additionally, you can move these tickets to other departments either manually or by using triggers as needed.
Do you need help? Book a time slot and we’ll help you set it up.